A BED (Browser Extensible Data) file is a special case of a region list: it is a tab-delimited text file and the first three columns of BED files contain the chromosome, start, and stop locations. To import a bed file to be used as a data region list, follow the import instructions for region lists. A BED File might also be visualized as an annotation file containing regions in the Genome Browser.
Using a BED file as an annotation source for the genome browser
BED files do not contain individual sequences nor do the regions have names. For example, the UCSC Genome Browser has an annotation BED file for CpG islands. You might like to view this information in the context of a methylation microarray data set. Before you can visualize a BED file in the chromosome viewer, you must create a Partek annotation file from the BED file.
- Select Tools from the main toolbar
- Select Annotation Manager... (Figure 1)
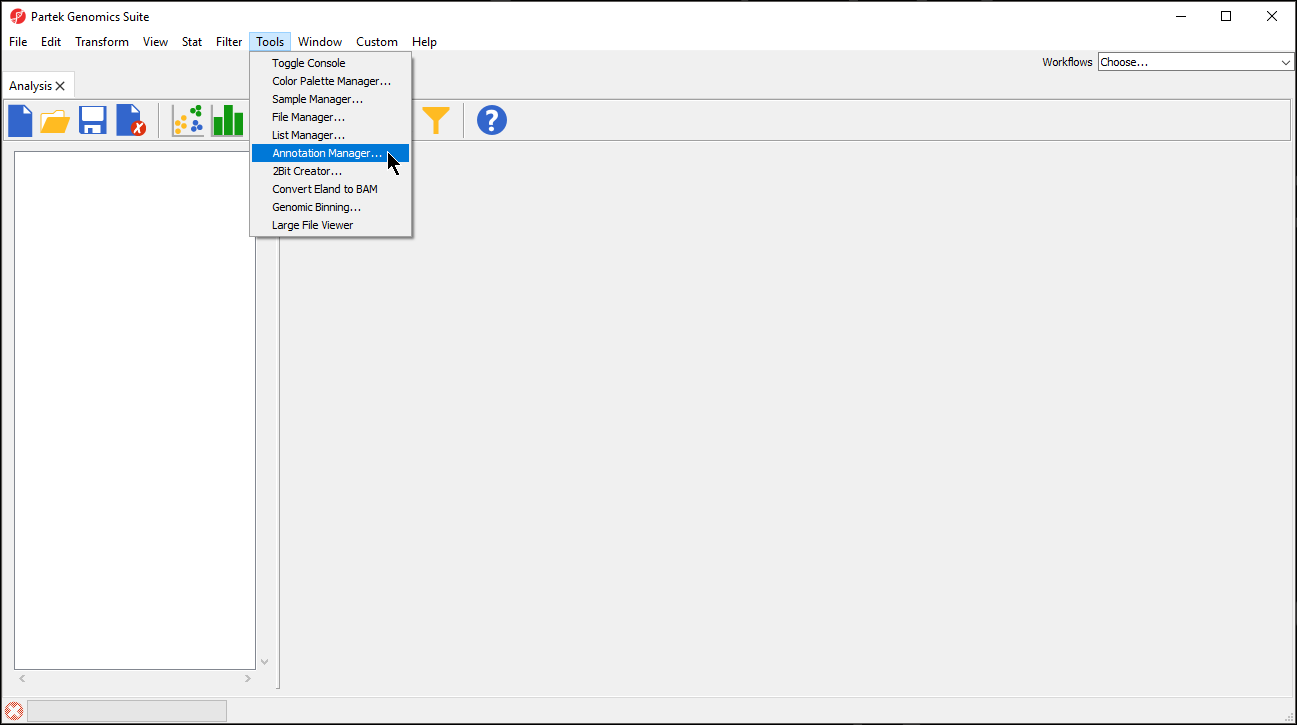
Figure 1. Selecting Annotation Manager
- Select Create Annotation from the My Annotations tab of the Annotation Manager dialog (Figure 2)
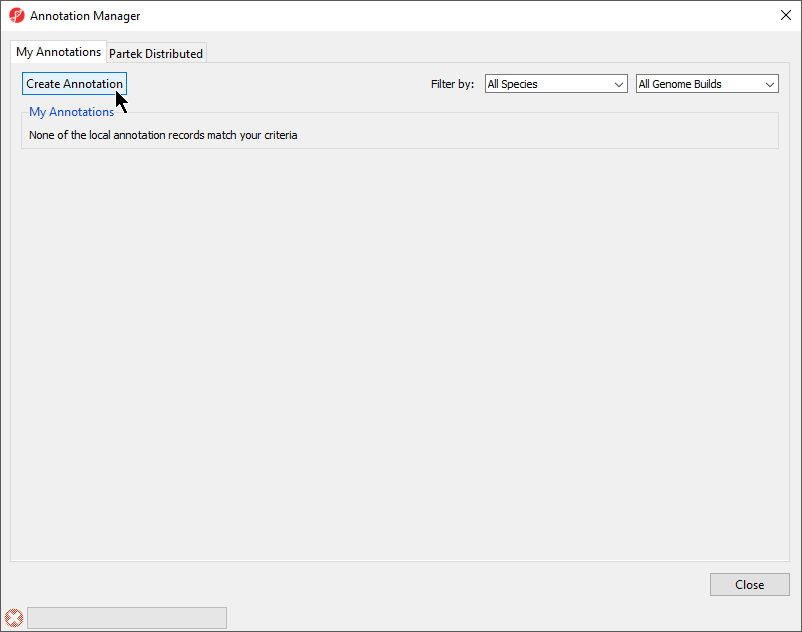
Figure 2. Creating a new annotation file
- Select BED file (.bed) for Annotation Type (Figure 3)
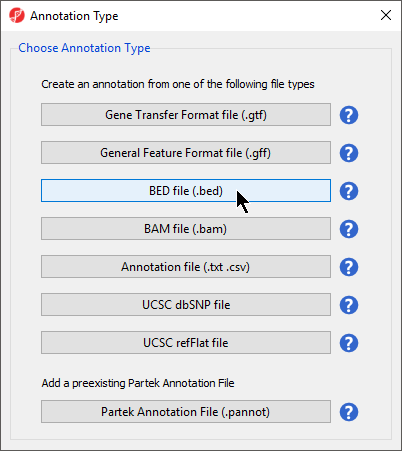
Figure 3. Selecting annotation file type
- Select Browse... under Source to specify the BED file; a default new file name and destination will populate Result, but this can be changed
- You can specify the name and save location of the new annotation file under Result; we typically choose the Microarray Libraries folder
- Specify the Name of the annotation database file
- Select the correct Species and Genome Build for the annotation file from the drop-down menus (Figure 4)
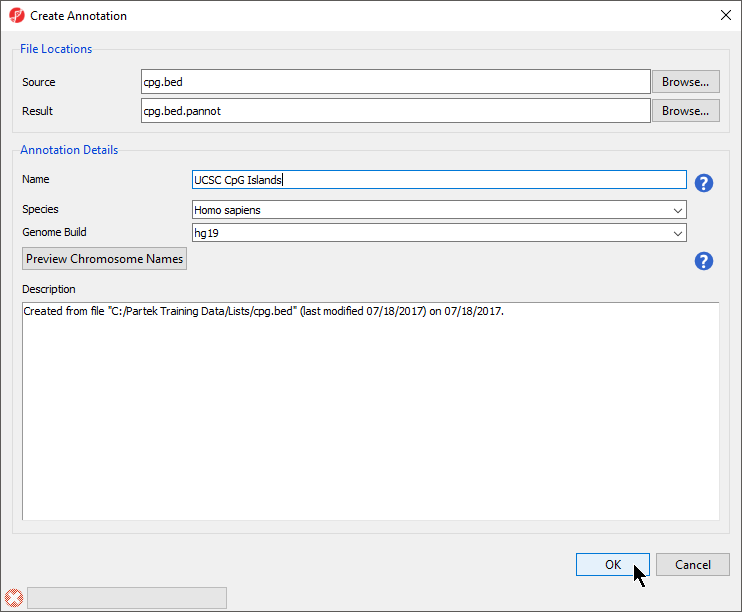
Figure 4. Configuring annotation file creation
Preview Chromosome Names would be used if the original file had chromosome names that did not match the genome build that had required modification. For our example, this is unnecessary.
- Select OK to create the annotation
The Annotation Manager will display the new annotation in the My Annotations tab (Figure 5)
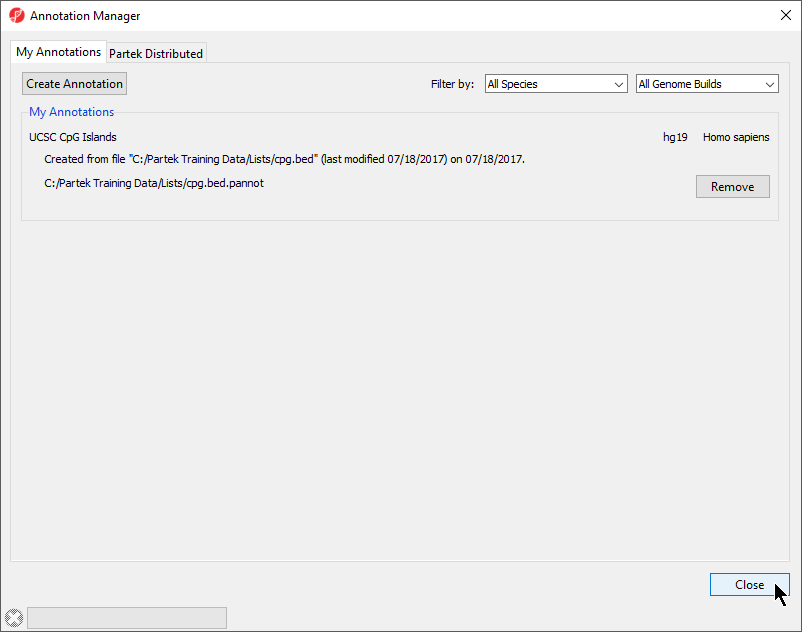
Figure 5. Viewing created annotation in My Annotations
Visualizing a BED file as an annotation track in the genome browser
In order to use a BED file as an Annotation track in the Genome Browser, first create the annotation file as described above, being careful to specify the correct species and genome build.
- Right-click a row on any spreadsheet that has genomic features on rows (gene lists, ANOVA results, SNP detection)
- Select either Browse to Row or Browse to Location to invoke the Genome Browser tab
- Select New Track from the Tracks panel of the Genome Browser (Figure 6)
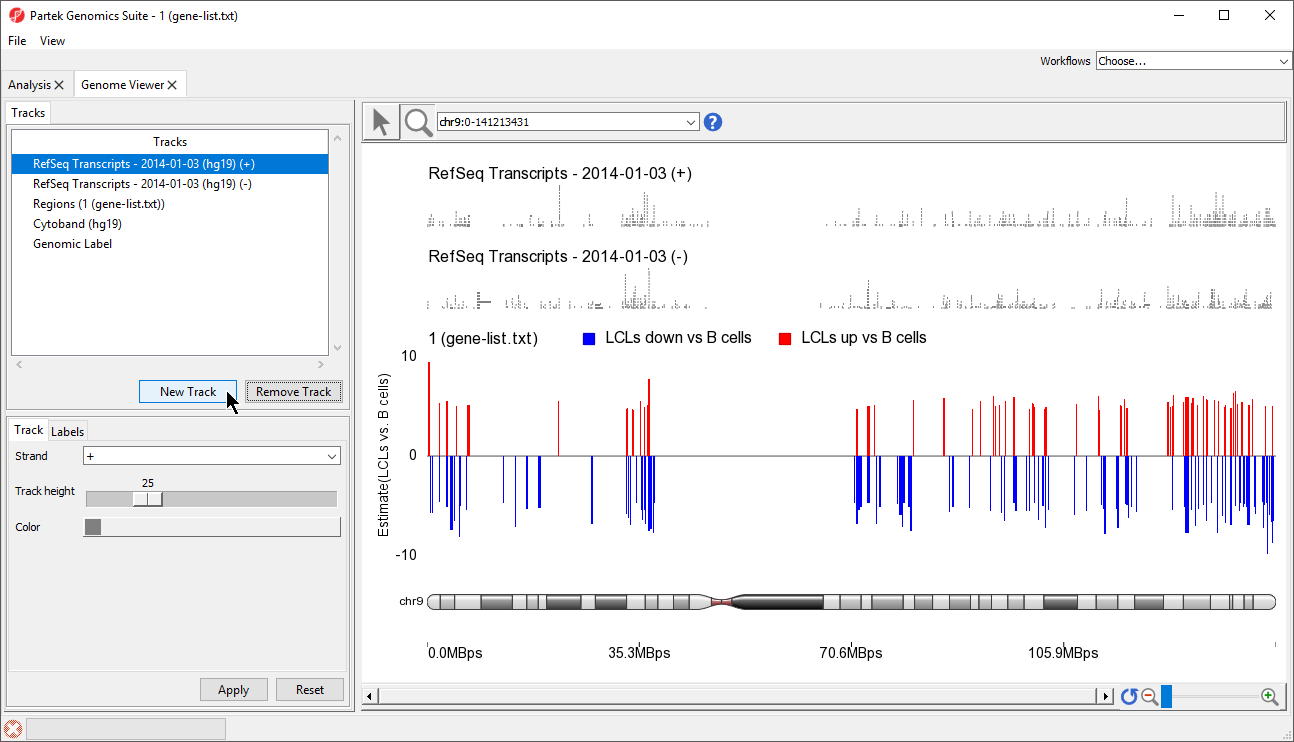
Figure 6. Adding a new track to the Genome Viewer
- Select Add an annotation track with genomic features from a selected annotation source from the Track Wizard dialog (Figure 7)
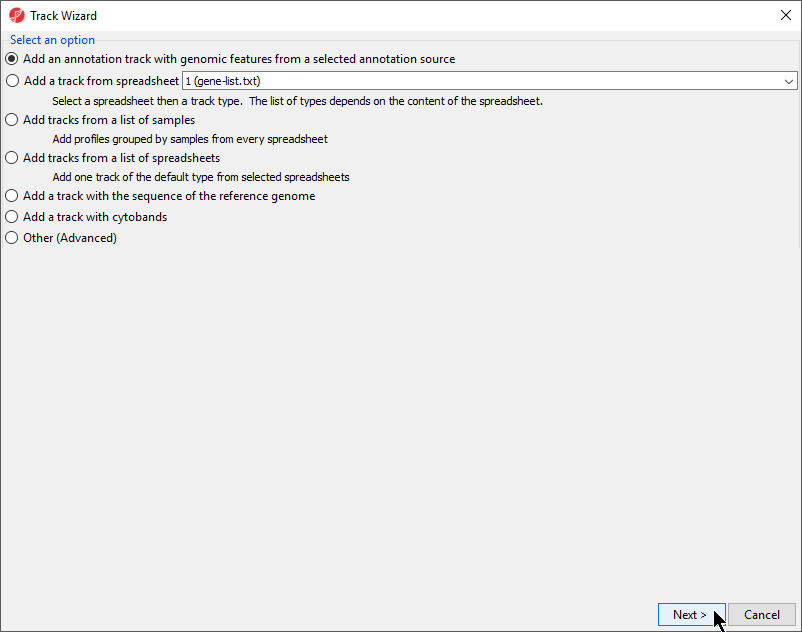
Figure 7. Track Wizard dialog
- Select Next >
- Choose the annotation file you created; here we have selected UCSC CpG Islands (Figure 8)
- If your annotation file does not contain strand information for each region, deselect Separate Strands; here we have deselected it

Figure 8. Choosing the annotation file
- Select Create
A new track will be created from the annotation file (Figure 9). If Separate Strands had been selected, there would be two tracks, one for each strand, like we see for the RefSeq Transcripts - 2014-01-03 (+) and (-) tracks (Figure 8).
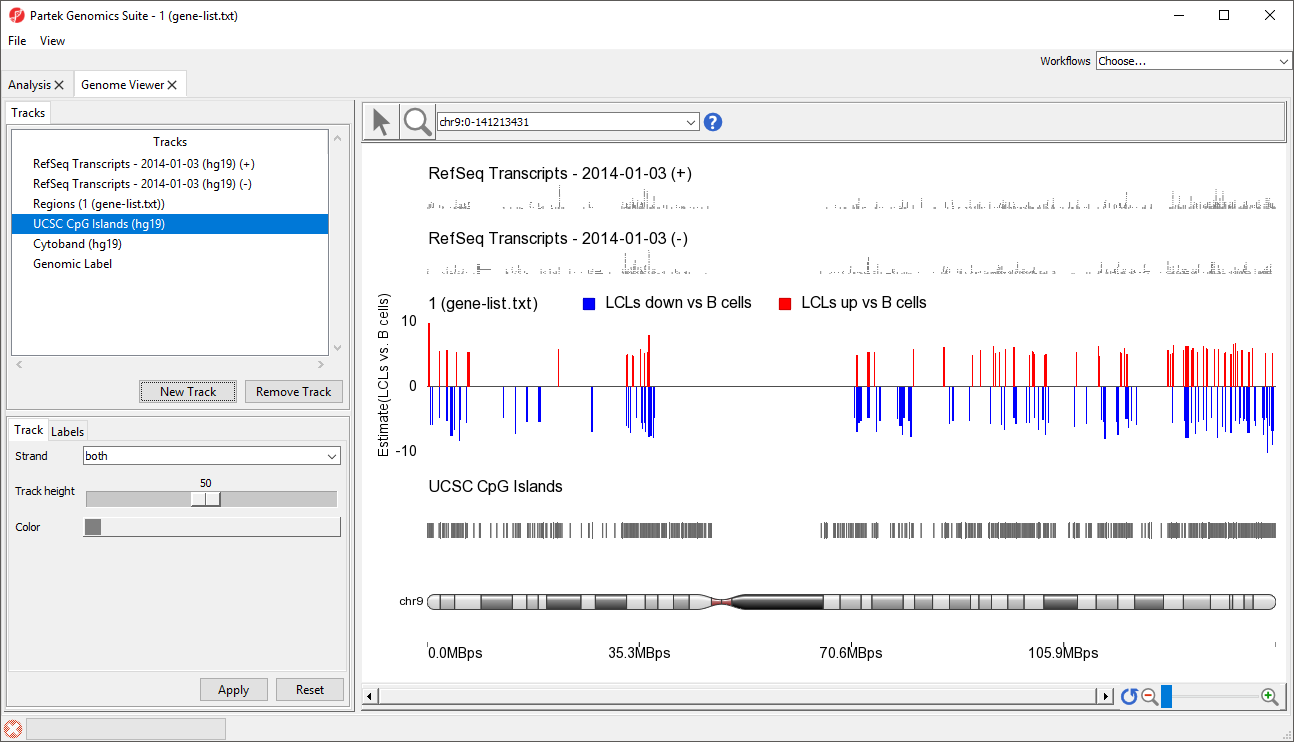
Figure 9. Viewing the added annotation file as a track in the genome viewer
Additional Assistance
If you need additional assistance, please visit our support page to submit a help ticket or find phone numbers for regional support.


| Your Rating: |
|
Results: |

|
35 | rates |
Overview
Content Tools