This guide is specific to the single-node Partek Flow installation and uses the Linux package managers and repositories.
If you had installed older versions of Partek Flow using a zip file (run the flowstatus.sh to verify), follow the steps to switch to the package manager before proceeding.
This section covers the following topics:
Default Installation Directory
By default, Partek Flow is installed under /opt/partek_flow and temporary files are housed in /opt/partek_flow/temp.
Checking your Linux Distribution
The installation procedure varies per Linux distribution. To check your distribution, open a terminal and run:
$ cat /etc/issue
Installation on Debian/Ubuntu Distributions
- Add the public key for the Partek package repository*
$ sudo apt-key adv --keyserver keyserver.ubuntu.com --recv-keys C82B61BF - Add the Partek package list to your repository*
$ sudo wget -P /etc/apt/sources.list.d/ http://packages.partek.com/debian/partek-flow.list
*Steps 1 and 2 only need to be performed once prior to the first installation. Re-installation and updates do not require this step. - Update the list of available packages
$ sudo apt-get update Install Partek Flow
$ sudo apt-get install partekflow
When asked to continue, type the letter Y and press Enter.
During the installation, you will be prompted for the Flow server port (Figure 1). Unless necessary, accept the default HTTP port: 8080 by pressing Enter.
 Figure 1. Configuring HTTP port for Partek Flow during installation
- If additional configuration is needed, use the reconfigure command below. This can be run any time after Partek Flow is installed. For details regarding each setting, contact the Partek Licensing Department. In most cases, this step can be skipped.
$ sudo dpkg-reconfigure partekflow - (Optional) To manually configure Partek Flow or to set additional advanced options or environment variables, edit the following configuration file:
/etc/partekflow.conf
Note that all changes made by the reconfigure command in step 5 are also stored in this configuration file. - Start the Partek Flow server
$ sudo service partekflowd start
A message should indicate that Partek Flow is now running:Starting Partek Flow server: OK
Step 7 needs to be performed only once after installation. Partek Flow will start automatically whenever the server restarts.
Installation on RedHat/CentOS Distributions
- Retrieve the Partek yum repo configuration
$ sudo wget -P /etc/yum.repos.d http://packages.partek.com/redhat/stable/partekflow.repo
Step 1 needs to be performed only once prior to the first installation. Re-installation and updates do not require this step. - Install Partek Flow
$ sudo yum install partekflow - When asked to continue, type the letter Y and press Enter
- (Optional) To manually configure Partek Flow or to set additional advanced options or environment variables, edit the file located at:
/etc/partekflow.conf - Start the Partek Flow server
$ sudo service partekflowd restart
The following message indicates that Partek Flow is now running:Starting Partek Flow server: OK
Step 5 needs to be performed only once after installation. Partek Flow will start automatically whenever a server restarts.
End User Tools
A user can access Partek Flow using a web browser on any browser-enabled device, such as a personal computer, tablet, smartphone etc. We recommend using Google Chrome™ or, alternatively, Mozilla Firefox™. The screen resolution should be set to 1024 × 768 pixels or higher. This is particularly important for the use of visualization tools such as Chromosome Viewer.
Access Partek Flow on a Web Browser
Once Partek Flow server has been started, access the interface using a web browser.
- If you are on the computer running Partek Flow, go to http://localhost:8080/flow
Note that if the Flow server port was assigned a different number during installation, replace 8080 with the correct port.
- If you are on a computer other than the Partek Flow server computer, localhost should be replaced with the IP address of the Partek Flow server computer
Enter the License Key
When Partek Flow is launched for the first time, the user is prompted to provide a license key (Figure 2). Copy and paste the license key received from Partek Licensing Support in the License key box and select Next*.
*You may need to refresh your page if you are not automatically directed to the "Create an administrator account" after selecting "Next".
If you have not received the license key, contact your account representative or request a trial.
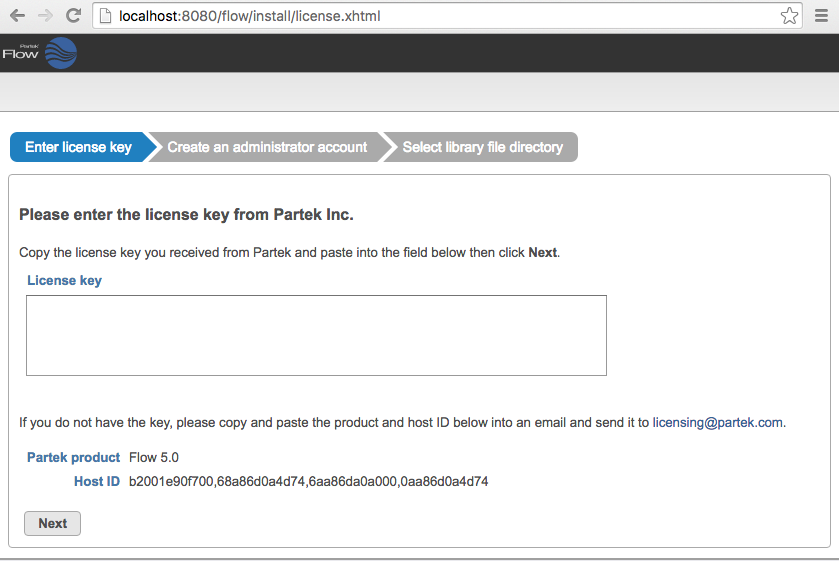
Figure 2. Setting up the Partek Flow license during installation
Create an Administrator Account
Partek Flow supports multiple users, each of which can either be classified as administrator or regular user, based on access privileges. The first account to be created is always an administrator account. Additional users may be added after installation. To set up the first (administrator) account, specify a username, password, and email address (Figure 3), then click Next.
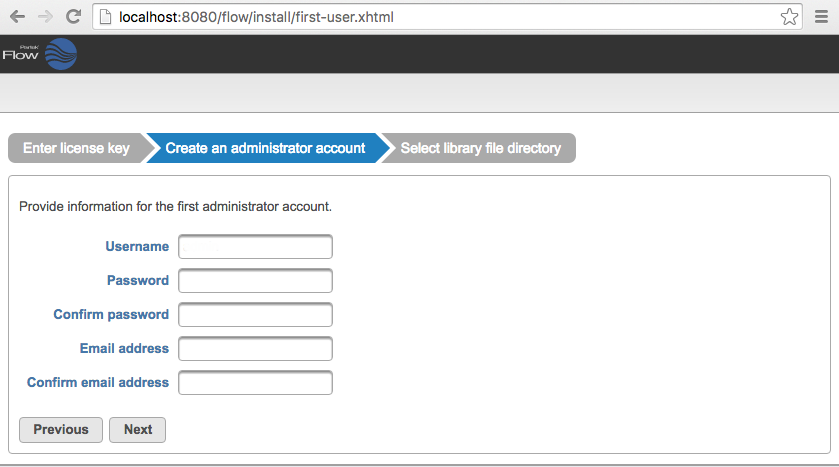
Figure 3. Setting up the Partek Flow 'admin' account during installation
Select Library File Directory
Select a directory folder to store the library files that will be downloaded or generated by Partek Flow (Figure 4). All Partek Flow users share library files and the size of the library folder can grow significantly. We recommend at least 100GB of free space should be allocated for library files. The free space in the selected library file directory is shown. Click Next to proceed. You can change this directory after installation by changing system preferences. For more information, see Library file management.
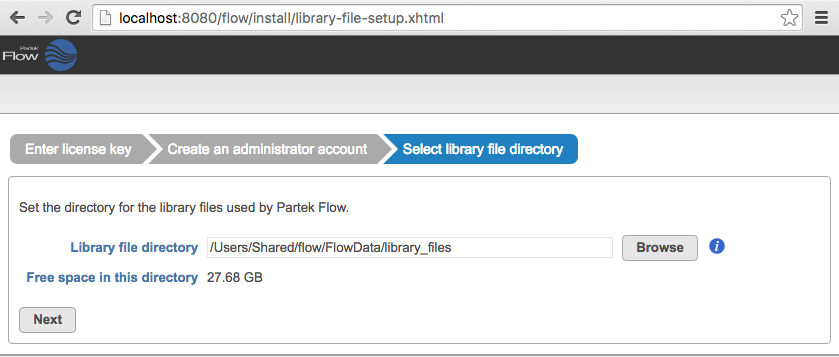
Figure 4. Selecting the library file directory
After selecting the library file directory, the installation is done. Click the Finish button (Figure 5).
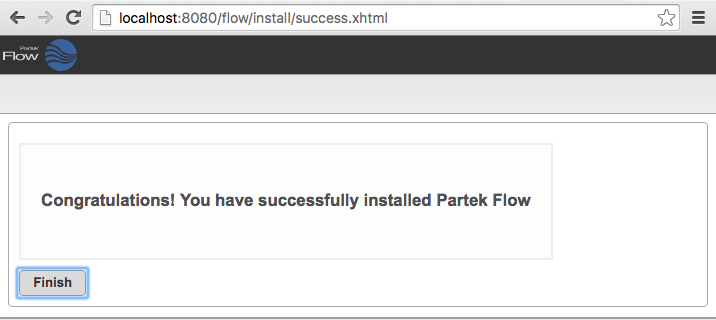
Figure 5. Completing Partek Flow installation
The browser will display the Partek Flow Homepage (Figure 6). Since there are no projects available, links to the download tutorial data as well as the link to the documentation pages are displayed.
Figure 6. The Partek Flow homepage
Additional Assistance
If you need additional assistance, please visit our support page to submit a help ticket or find phone numbers for regional support.


| Your Rating: |
|
Results: |

|
35 | rates |
Overview
Content Tools
1 Comment
Melissa del Rosario
author: mdelrosario