Join us for a webinar: The complexities of spatial multiomics unraveled
May 2
Page History
...
- Add the public key for the Partek package repository*
$ sudo apt-key adv --keyserver keyskeyserver.gnupgubuntu.net com --recv-keys C82B61BF - Add the Partek package list to your repository*
$ sudo wget -P /etc/apt/sources.list.d/ http://packages.partek.com/debian/partek-flow.list
*Steps 1 and 2 only need to be performed once prior to the first installation. Re-installation and updates do not require this step. - Update the list of available packages
$ sudo apt-get update Install Partek Flow
$ sudo apt-get install partekflow
When asked to continue, type the letter Y and press Enter.
During the installation, you will be prompted for the Flow server port (Figure 1). Unless necessary, accept the default HTTP port: 8080 by pressing Enter.Numbered figure captions SubtitleText Configuring HTTP port for Partek Flow during installation AnchorName HTTP Port Configuration 
- If additional configuration is needed, use the reconfigure command below. This can be run any time after Partek Flow is installed. For details regarding each setting, contact the Partek Licensing Department. In most cases, this step can be skipped.
$ sudo dpkg-reconfigure partekflow - (Optional) To manually configure Partek Flow or to set additional advanced options or environment variables, edit the following configuration file:
/etc/partekflow.conf
Note that all changes made by the reconfigure command in step 5 are also stored in this configuration file. - Start the Partek Flow server
$ sudo service partekflowd start
A message should indicate that Partek Flow is now running:Starting Partek Flow server: OK
Step 7 needs to be performed only once after installation. Partek Flow will start automatically whenever the server restarts.
...
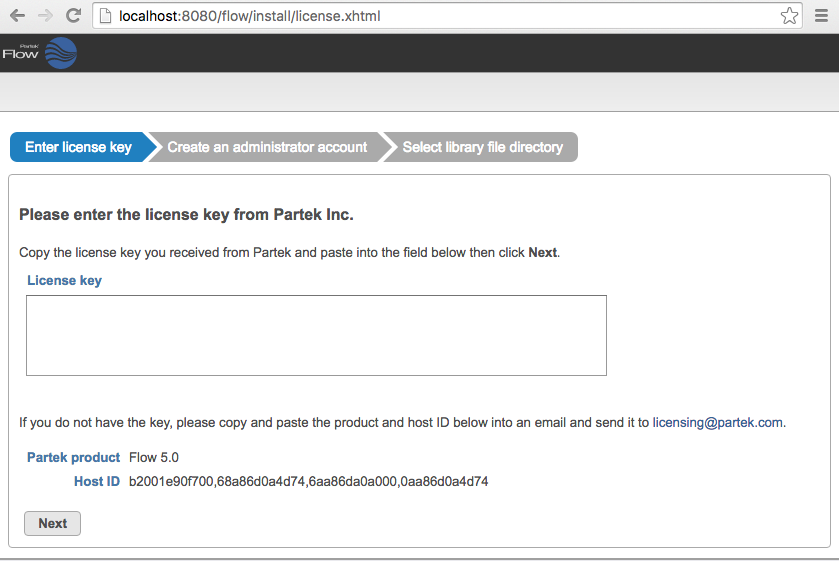
If you have not received the license key, contact your account representative or request a trial.
| Numbered figure captions | ||||
|---|---|---|---|---|
| ||||
|
...
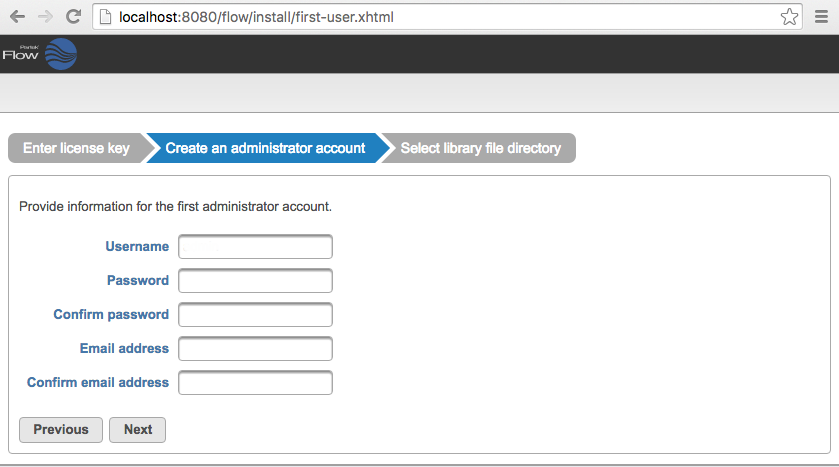
Partek Flow supports multiple users, each of which can either be classified as administrator or regular user, based on access privileges. The first account to be created is always an administrator account. Additional users may be added after installation. To set up the first (administrator) account, specify a username, password, and email address (Figure 3), then click Next.
| Numbered figure captions | ||||
|---|---|---|---|---|
| ||||
|
...
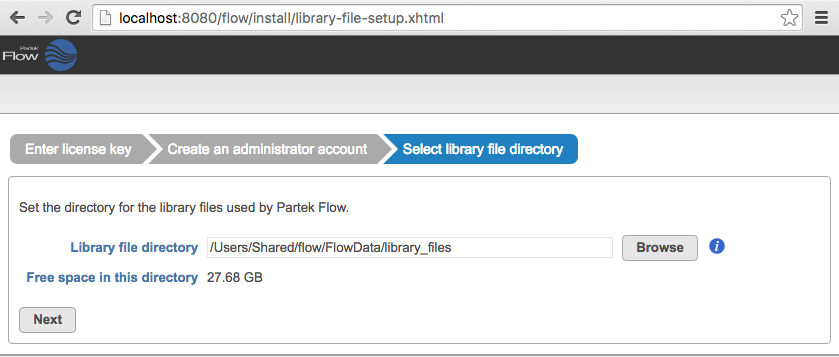
Select a directory folder to store the library files that will be downloaded or generated by Partek Flow (Figure 4). All Partek Flow users share library files and the size of the library folder can grow significantly. We recommend at least 100GB of free space should be allocated for library files. The free space in the selected library file directory is shown. Click Next to proceed. You can change this directory after installation by changing system preferences. For more information, see Library file management.
| Numbered figure captions | ||||
|---|---|---|---|---|
| ||||
|
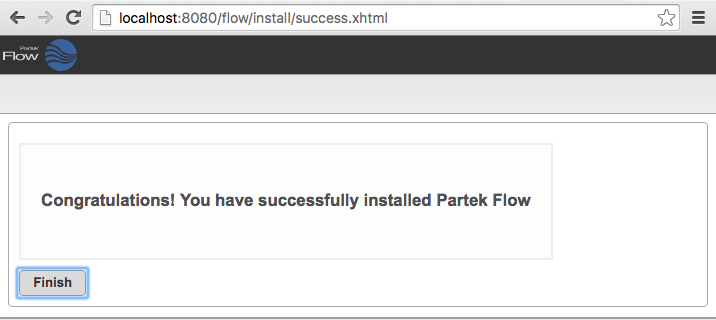
After selecting the library file directory, the installation is done. Click the Finish button (Figure 5).
| Numbered figure captions | ||||
|---|---|---|---|---|
| ||||
|
...
| Numbered figure captions | ||||
|---|---|---|---|---|
| ||||
|
| Additional assistance |
|---|
| Page Turner | ||
|---|---|---|
|
...
Overview
Content Tools