Create, view, and edit lists within a Partek Flow instance. To access Lists:
- Click the user avatar
 in the top right corner of the Partek Flow interface
 - Choose Settings in the menu
- Select Lists from the left panel of the Components section.
Lists can be accessed by administrative and non-administrative users (Figure 1).
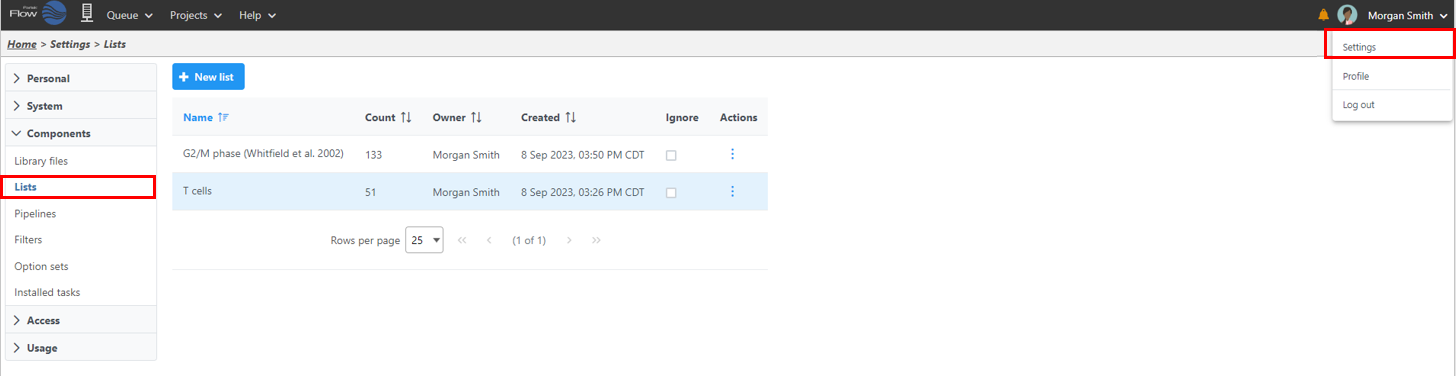
Figure 1. Access Lists in the Partek Flow interface
View and sort the name of the list, number of features, owner, and creation date by clicking the column title of the list table. Each list has the option to ignore (![]() ) and actions (
) and actions (![]() ) to download (
) to download ( ), edit the name or description (
 ), share (
![]() ) or delete (
) or delete (![]() ) the list.
) the list.
Create a new list
To create new list, select the New list button ( ) on the top of the page and give the list a name. Choose between the three list options:
- Local file: text file (.txt) on the local computer
- Text: manually specify a list of names
- Hosted lists: lists hosted on Partek website
When manually specifying a local file or text, only the user who added the list can view and use the lists. Hosted lists can be viewed and used by all of the users.
The list name needs to be unique for each user. A description is optional. The list of features can be specified from a .txt file on your local computer by selecting the Local file option (Figure 2). The .txt file should contain only one feature per row.
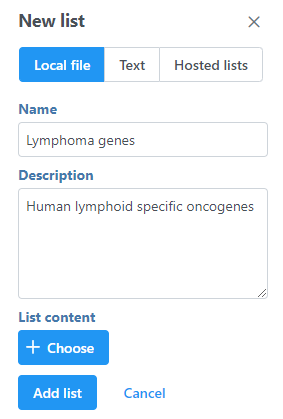
Figure 2. Adding a list from a .txt file
To manually enter a list of genes, select the Text option (Figure 3). Content can be typed into the text field or pasted from the clipboard as one feature per row.
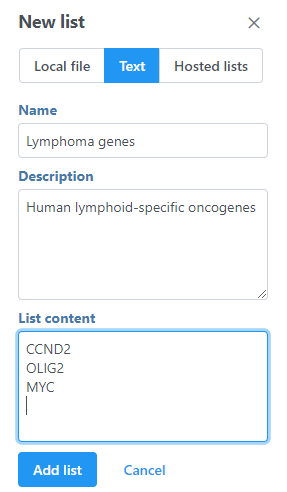
Figure 3. Type or paste feature names in the text field in column format
Select Add list to add the list. The new list will be added to the list table.
When the Hosted lists option is chosen, lists can be downloaded from Partek (Figure 4).
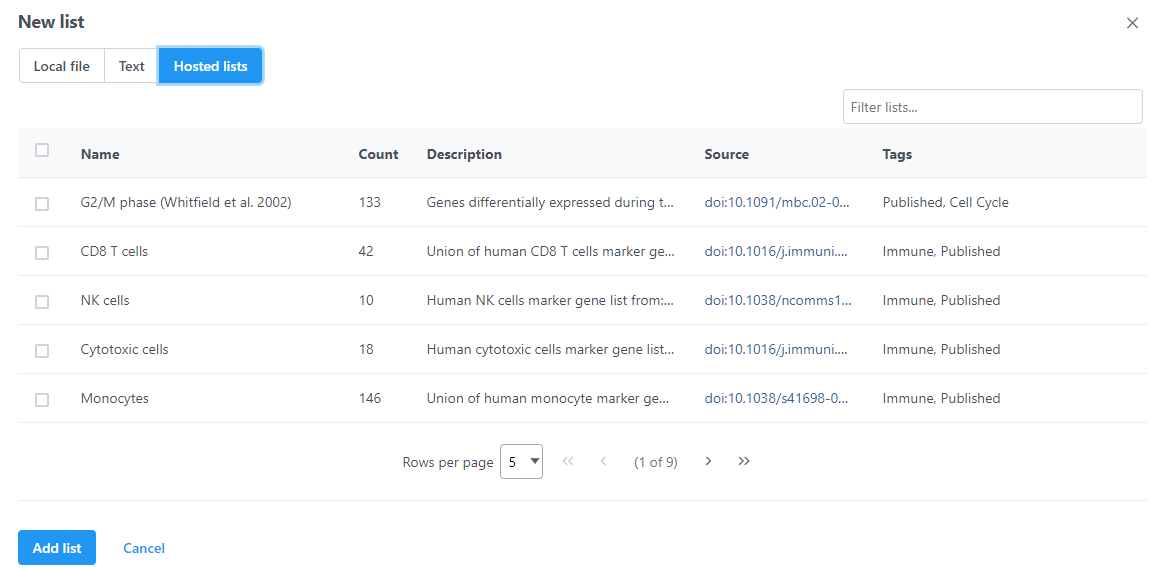
Figure 4. Download a list from Partek
Click the check button (![]() ) for each list on the left to select lists and click Add list. The downloaded lists are automatically shared with all users on the server. If you do not want to see the list when performing tasks related to lists (e.g. filter feature task), check the Ignore button.
) for each list on the left to select lists and click Add list. The downloaded lists are automatically shared with all users on the server. If you do not want to see the list when performing tasks related to lists (e.g. filter feature task), check the Ignore button.
Once a list is added to the Partek Flow server, it can be used to filter data (e.g. to filter quantified RNA-Seq data to only include or exclude the genes in a list) or to color by a feature list.
Use a Feature list to Select & Filter populations
Feature lists can be used to Select & Filter.
- In the Data Viewer, select the Style configuration option
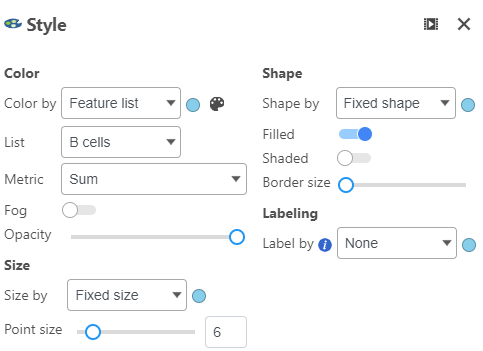
- Choose Feature list
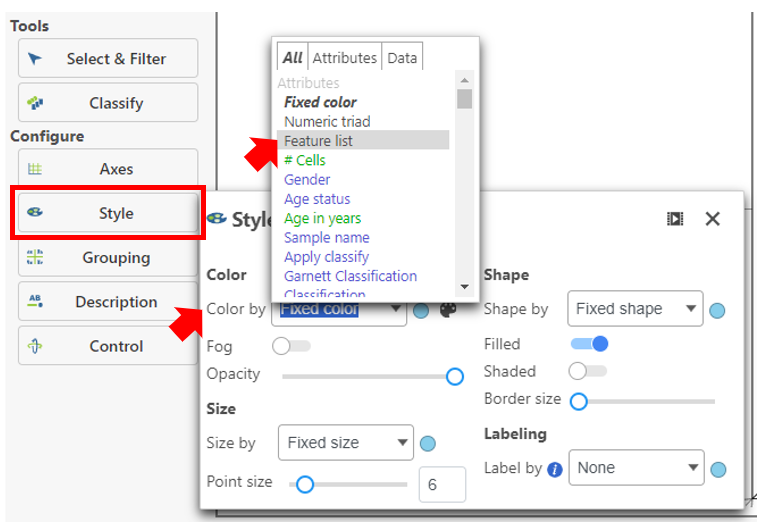
- Select the List of interest using the drop-down
- Choose a Metric for the feature list
- Click Select & Filter under Tools on left
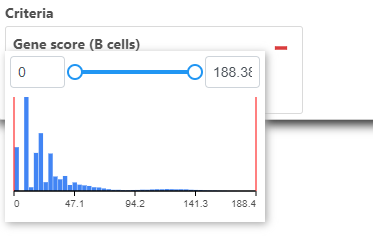
- Use the Add criteria drop-down to choose Gene score
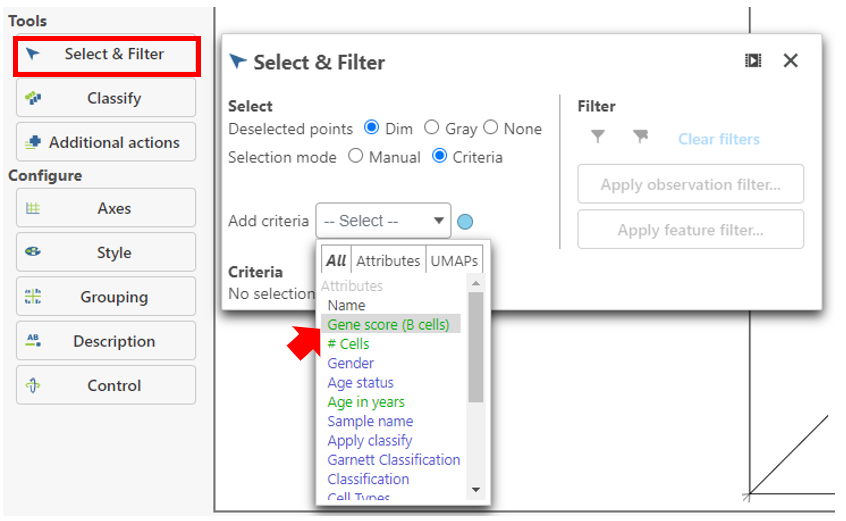
- Use the slider or text fields to select a population
- Use Filter at the top right to include (
 ) or exclude (
 ) this population
 - Apply observation filter can then be used to filter this population to a specific node in the analysis pipeline

To remove this filter, click Clear filters.
Additional Assistance
If you need additional assistance, please visit our support page to submit a help ticket or find phone numbers for regional support.


| Your Rating: |
|
Results: |

|
31 | rates |
Overview
Content Tools