Create, view, and edit lists within a Partek Flow instance. To access Lists:
 in the top right corner of the Partek Flow interface
Lists can be accessed by administrative and non-administrative users (Figure 1).
|
View and sort the name of the list, number of features, owner, and creation date by clicking the column title of the list table. Each list has the option to ignore (![]() ) and actions (
) and actions (![]() ) to download (
) to download ( ), edit the name or description (
 ), share (
![]() ) or delete (
) or delete (![]() ) the list.
) the list.
To create new list, select the New list button ( ) on the top of the page and give the list a name. Choose between the three list options:
When manually specifying a local file or text, only the user who added the list can view and use the lists. Hosted lists can be viewed and used by all of the users.
The list name needs to be unique for each user. A description is optional. The list of features can be specified from a .txt file on your local computer by selecting the Local file option (Figure 2). The .txt file should contain only one feature per row.
|
To manually enter a list of genes, select the Text option (Figure 3). Content can be typed into the text field or pasted from the clipboard as one feature per row.
|
Select Add list to add the list. The new list will be added to the list table.
When the Hosted lists option is chosen, lists can be downloaded from Partek (Figure 4).
|
Click the check button (![]() ) for each list on the left to select lists and click Add list. The downloaded lists are automatically shared with all users on the server. If you do not want to see the list when performing tasks related to lists (e.g. filter feature task), check the Ignore button.
) for each list on the left to select lists and click Add list. The downloaded lists are automatically shared with all users on the server. If you do not want to see the list when performing tasks related to lists (e.g. filter feature task), check the Ignore button.
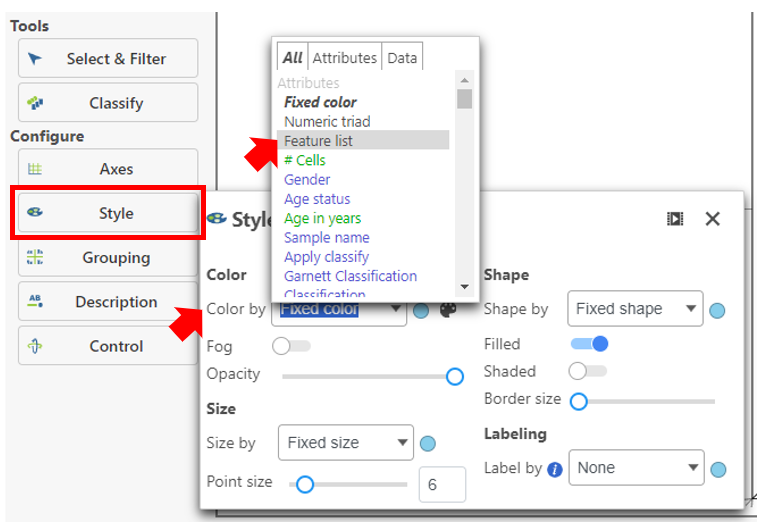
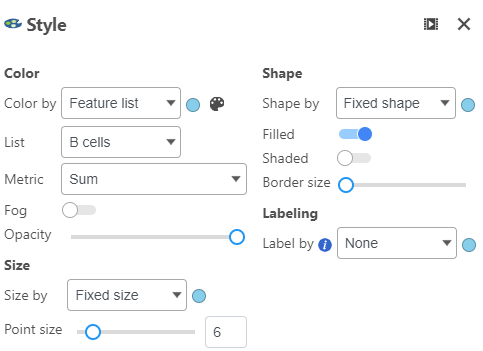
Once a list is added to the Partek Flow server, it can be used to filter data (e.g. to filter quantified RNA-Seq data to only include or exclude the genes in a list) or to color by a feature list.
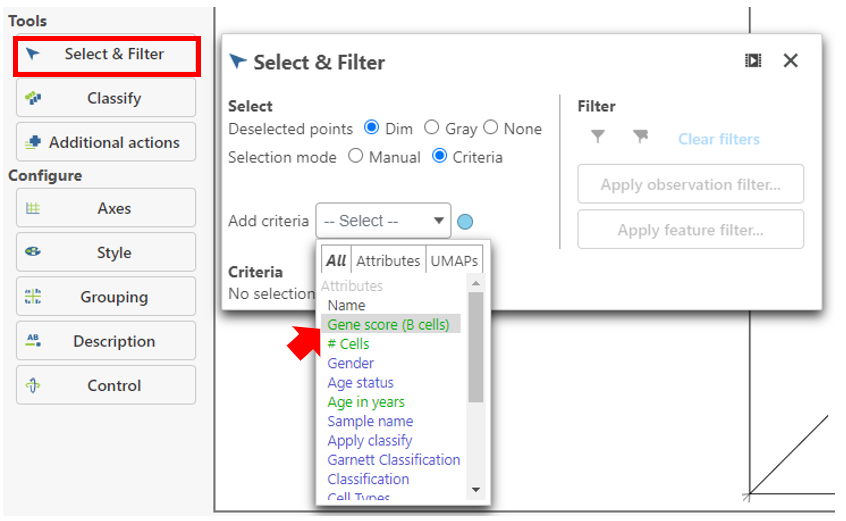
Feature lists can be used to Select & Filter.
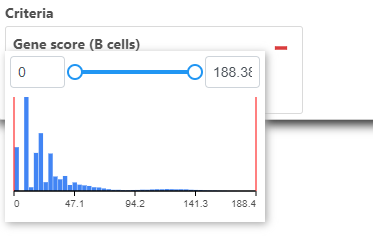
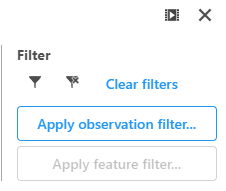
To remove this filter, click Clear filters.