Page History
This document will show you how to delete an assembly and how to dissociate a library file.
| Table of Contents |
|---|
Deleting an Assembly
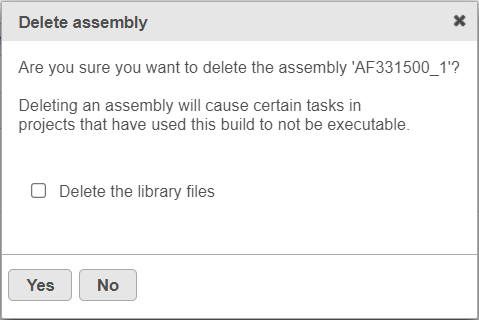
To delete an assembly from the Library File Management, select the red cross (![]() ) icon by the assembly name. You will be prompted to confirm the deletion (Figure 1). If you also want to delete the individual library files from the disk, select the Delete the library files check box. Select Yes to proceed with deletion. Note that the deletion can not be un-done.
) icon by the assembly name. You will be prompted to confirm the deletion (Figure 1). If you also want to delete the individual library files from the disk, select the Delete the library files check box. Select Yes to proceed with deletion. Note that the deletion can not be un-done.
| Numbered figure captions | ||||
|---|---|---|---|---|
| ||||
|
Dissociating Library Files
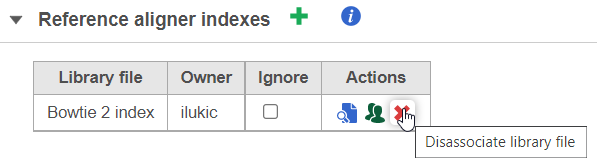
Individual library files can be removed by disassociating them from their respective assembly. To disassociate a file, click on the red cross (![]() ) icon in the Actions column (Figure 2).
) icon in the Actions column (Figure 2).
| Numbered figure captions | ||||
|---|---|---|---|---|
| ||||
|
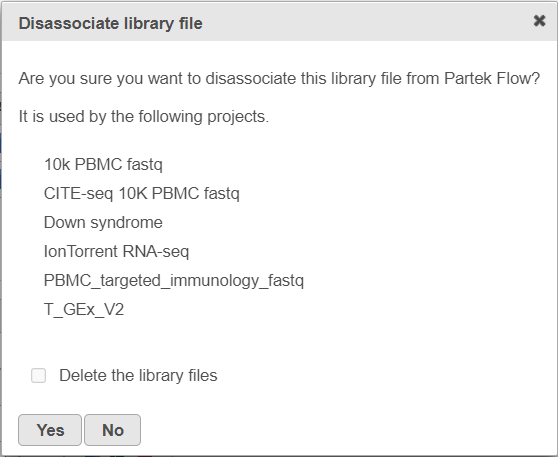
If the library file is used by multiple projects, the resulting dialog will provide a list of projects (Figure 3). As long as the library file is used, the Delete the library files option will be disabled.
| Numbered figure captions | ||||
|---|---|---|---|---|
| ||||
|
Using the Dissociate library file tool does not physically remove the file from the disk, but disassociates the file from the selected library file name. This, in turn, enables you to associate newer or improved version of the library file with the same library file name. If the goal is to physicall delete the library files from the disk, then all the projects using that library file must be deleted first.
| Rate Macro | ||
|---|---|---|
|
Overview
Content Tools