Page History
...
Associating a Spreadsheet with an Annotation File
For Partek® Genomics Suite® to recognize an annotation spreadsheet, it must meet several requirements. First, there must be a column header row in the annotation file. Second, there must be a column in the annotation file that matches the identifiers in your data spreadsheet. Third, any text field above the column header row must start with #. Fourth, the text fields must be tab or comma delimited.
...
- Verify that a column in the annotation file matches the identifier in your data spreadsheet, e.g probe ID, the identifier must be unique to each row
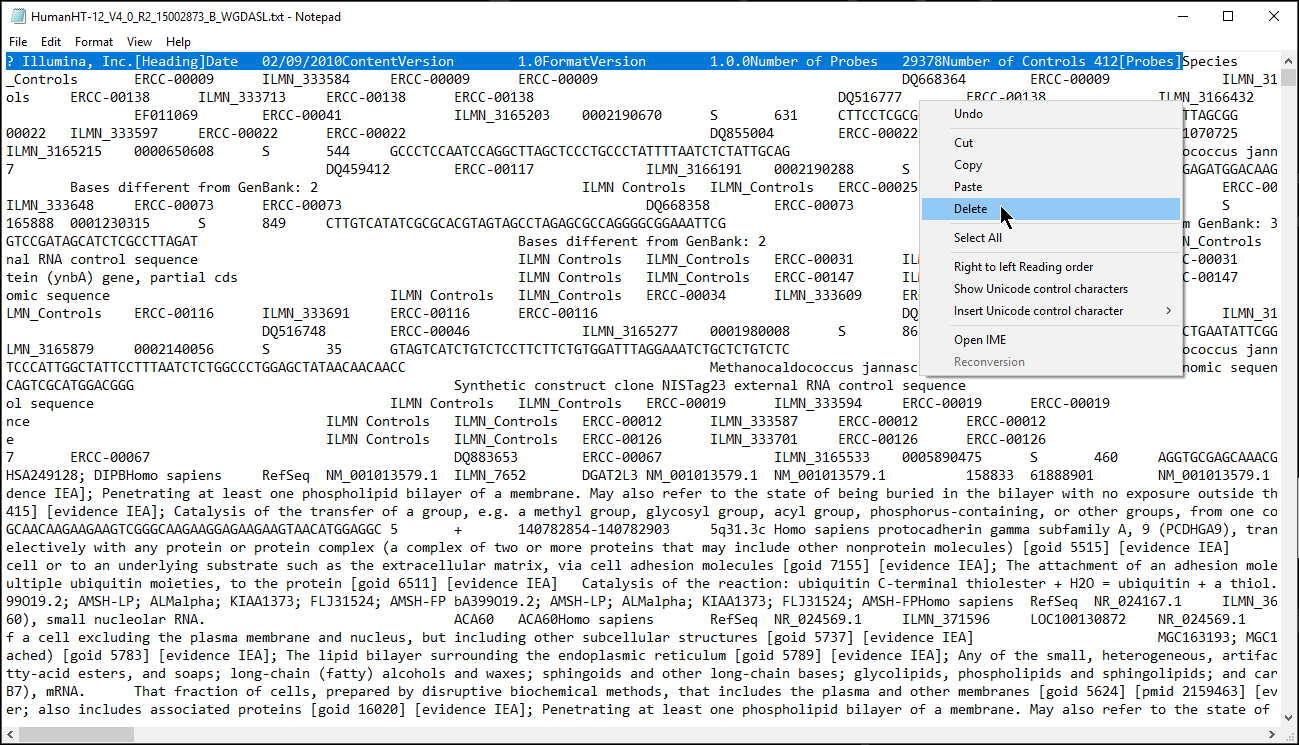
- Remove the text before the first column header (Figure 1) or add # to each text box
- Save the annotation file as a .txt file
| Numbered figure captions | ||||
|---|---|---|---|---|
| ||||
|
...
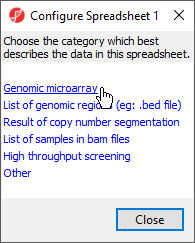
Depending on how you imported the data, you may see a Configure Spreadsheet dialog (Figure 3). Select the most appropriate option for your data; here we have chosen Genomic microarray.
| Numbered figure captions | ||||
|---|---|---|---|---|
| ||||
|
...
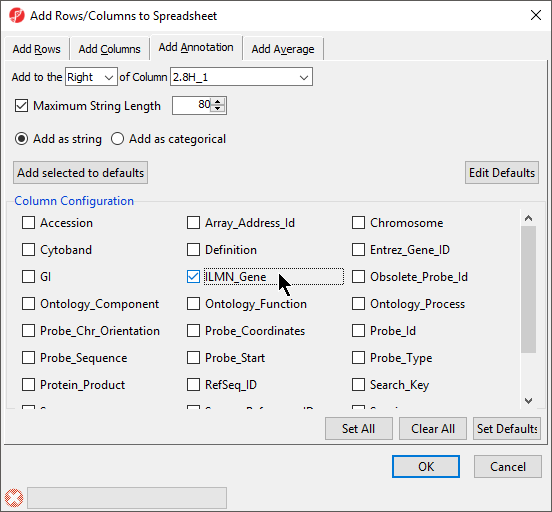
The Column Configuration section of the Add Rows/Columns to Spreadsheet dialog should contain all the feature annotations from the annotation file spreadsheet (Figure 6). Here we selected ILMN_Gene, which will add gene name information as a column next to 1. ID_REF.
| Numbered figure captions | ||||
|---|---|---|---|---|
| ||||
|
...
| probeset_id | seqname | strand | start | stop |
|---|---|---|---|---|
| 2315588 | chr1 | + | 1155398 | 1155624 |
| Additional assistance |
|---|
| Rate Macro | ||
|---|---|---|
|
...
Overview
Content Tools