Page History
...
Click the Make a pipeline link at the bottom of the screen under the Analyses tab (Figure 1)
Numbered figure captions SubtitleText Make a pipeline link shown underneath the task graph, under the Analyses tab of a project AnchorName Make pipeline link 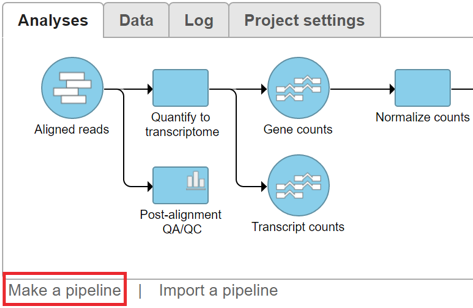
- In the dialog, name the pipeline and add an optional description (Figure 2). Make sure the Section name is set to Pipelines
Numbered figure captions SubtitleText Add a name and description of the new pipeline AnchorName Pipeline name and description 
Left-click the rectangular task nodes you wish to save as part of the pipeline from the task graph. Selected tasks will have a thick black outline (Figure 3)
Numbered figure captions SubtitleText Choose the tasks from the task graph that you wish to include as part of the saved pipeline by left-clicking the rectangular task nodes. In this example, all four tasks will be saved AnchorName Pipeline task selection 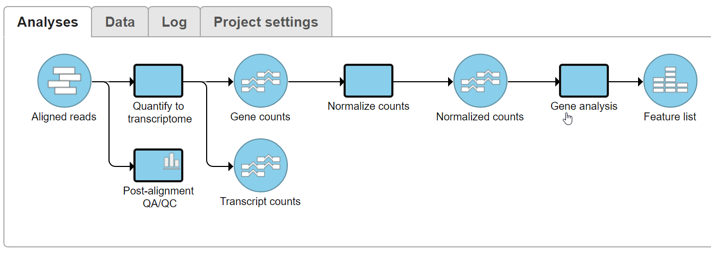
- Click the Make pipeline button (Figure 2). This saves the pipeline and the screen will return to the Analyses tab. To check if the pipeline has been saved, select the circular data node preceding the first task in the saved pipeline and it will appear in the toolbox on context sensitive menu on the right under Pipelines (see Running a Pipeline).
...
Overview
Content Tools