Page History
...
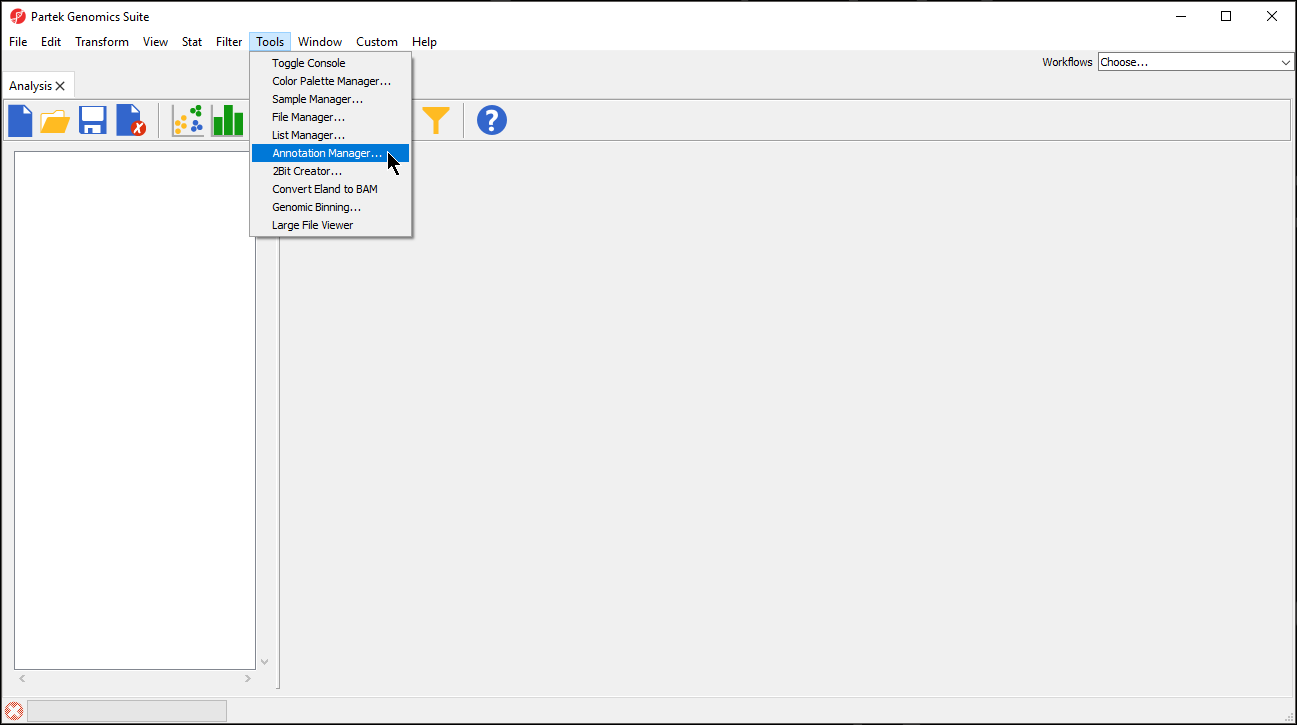
- Select Tools from the main toolbar
- Select Annotation Manager... (Figure 1)
| Numbered figure captions | ||||
|---|---|---|---|---|
| ||||
|
...
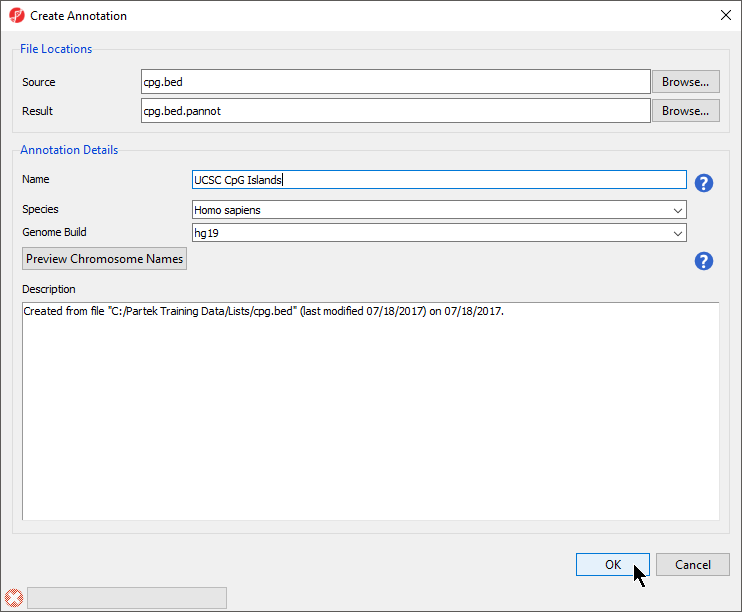
- Select Browse... under Source to specify the BED file; a default new file name and destination will populate Result, but this can be changed
- You can specify the name and save location of the new annotation file under Result; we typically choose the Microarray Libraries folder
- Specify the Name of the annotation database file
- Select the correct Species and Genome Build for the annotation file from the drop-down menus (Figure 3)
| Numbered figure captions | ||||
|---|---|---|---|---|
| ||||
|
...
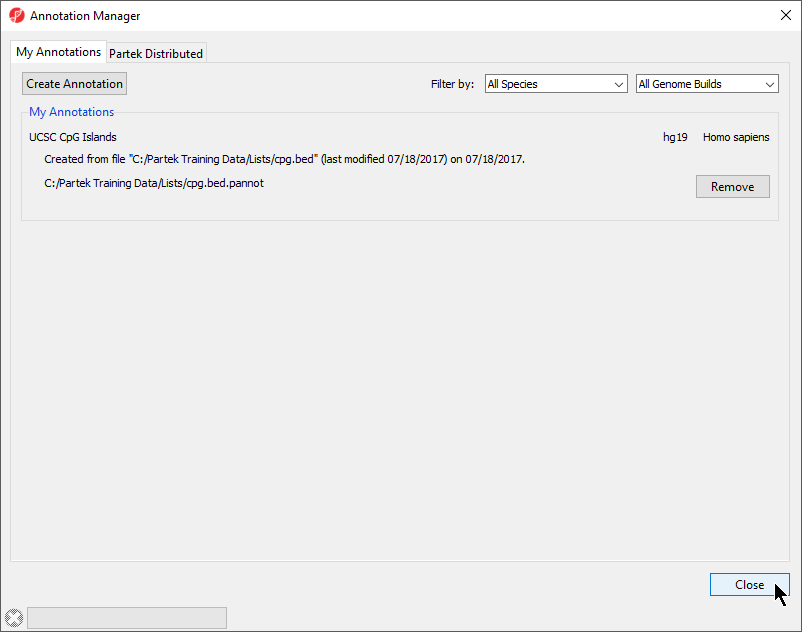
The Annotation Manager will display the new annotation in the My Annotations tab (Figure 4)
| Numbered figure captions | ||||
|---|---|---|---|---|
| ||||
|
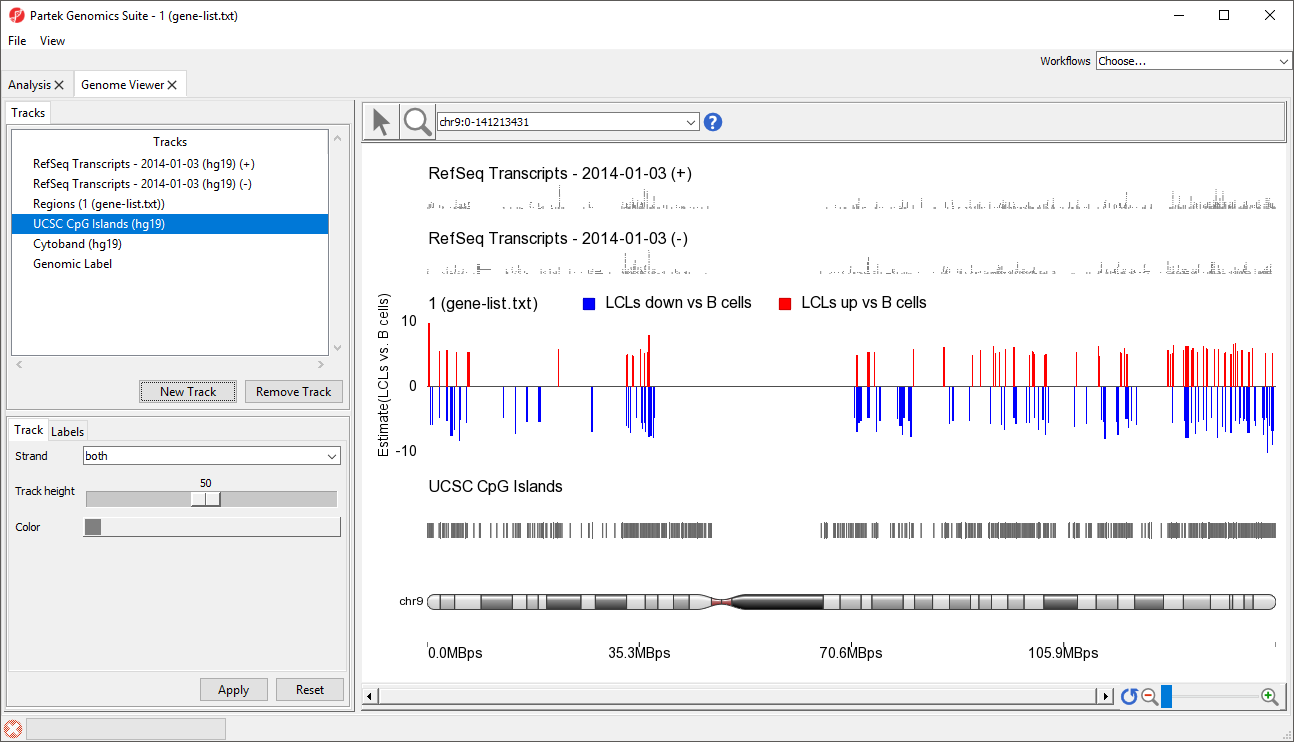
Visualizing a BED file as an annotation track in the genome browser
...
- Select Next >
- Choose the annotation file you created; here we have selected UCSC CpG Islands (Figure 7)
- If your annotation file does not contain strand information for each region, deselect Separate Strands; here we have deselected it
| Numbered figure captions | ||||
|---|---|---|---|---|
| ||||
|

...
| Numbered figure captions | ||||
|---|---|---|---|---|
| ||||
|
| Page Turner | ||
|---|---|---|
|
...
Overview
Content Tools