Page History
...
A project may be deleted from the Partek Flow server using the ![]()
![]() button on the upper right side of the Project View page (Figure 1).
button on the upper right side of the Project View page (Figure 1).
...
Alternatively, you can also delete your projects directly from the Homepage by clicking ![]() Delete project (
Delete project ( ) under the Actions column (Figure 2).
...
Selecting Files for Deletion
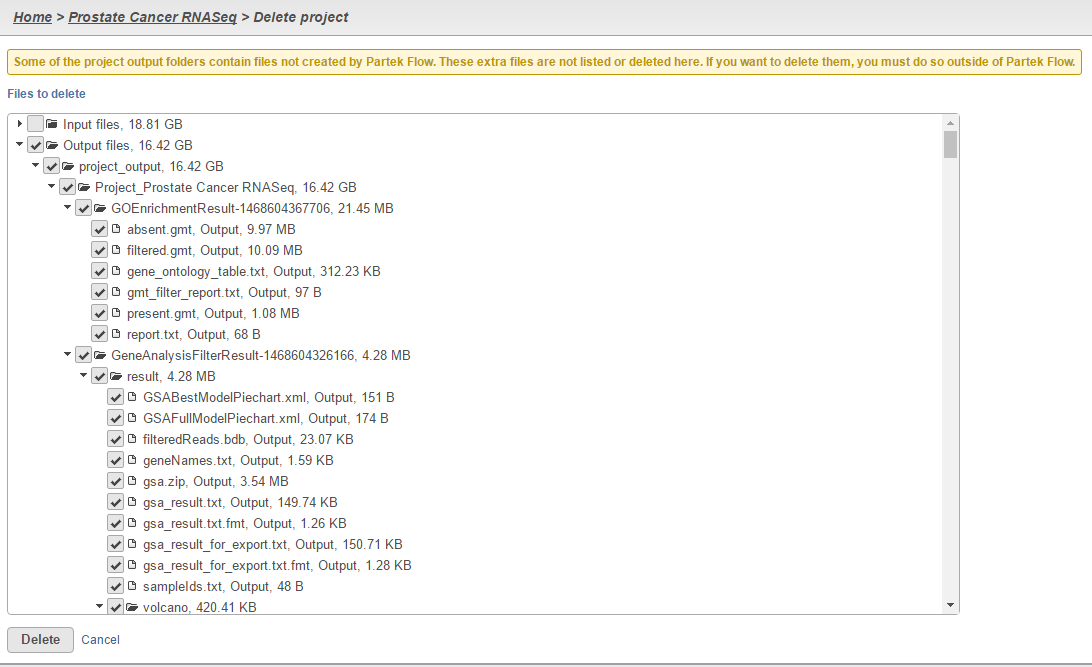
After clicking the button
![]() Delete project, a page displaying all the files associated with the project appears. Clicking the triangle
Delete project, a page displaying all the files associated with the project appears. Clicking the trianglewill expand the list. Select the files to be deleted from the server by clicking the corresponding checkboxes next to each file (Figure 3). By default, all output files generated by the project will be deleted.
| Numbered figure captions | ||||
|---|---|---|---|---|
| ||||
|
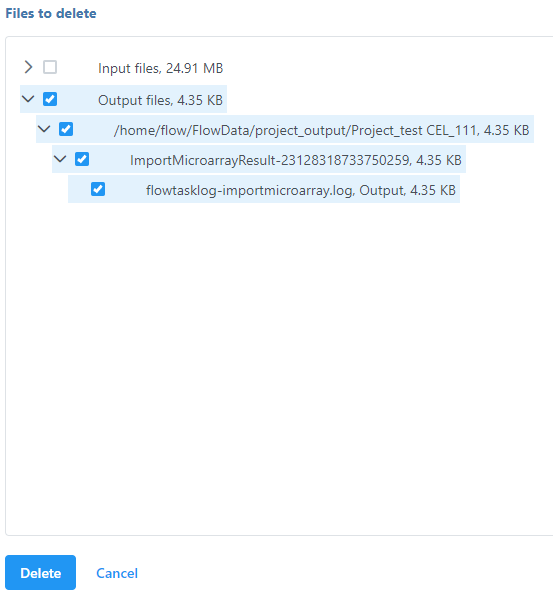
If you wish to delete the input files associated with the project, you can do that as well by clicking the Input files checkbox. Note that a warning icon  appears next to input files that are used in other projects (Figure 4). These cannot be deleted until all projects associated with them are deleted.
...
Overview
Content Tools