Page History
...
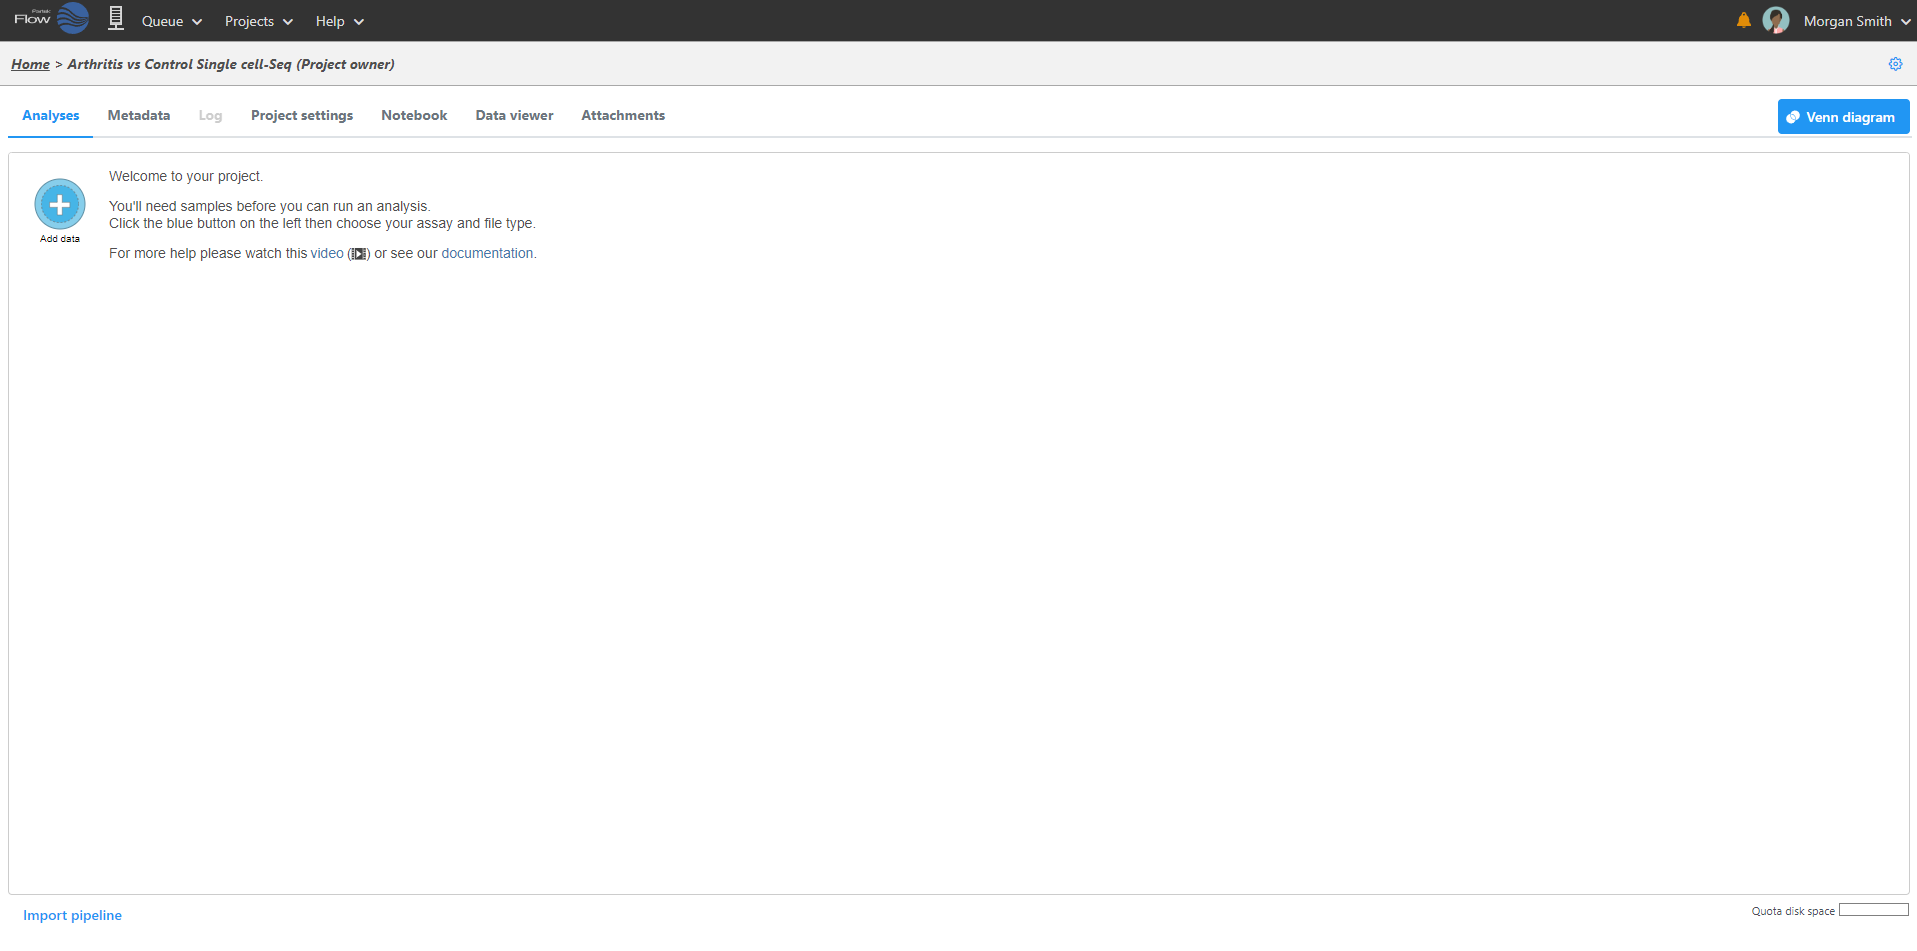
Logging in to your Partek Flow account will bring up the Home page (Figure 1). This page will show recent activities you've performed, recent projects you've worked on and pertinent details about each project.
...
From the Home Page, click the New project button button  . Assign Assign a name to the project and click the Create project button.
Uploading your dataset
Upon creation of a new project, the Data tab Analyses tab will appear, prompting you to add samples to your project. Click the blue Add samplesdata button . Selecting Automatically create samples from files is the fastest way to create a sample(Figure 2).
Select the type of data (Single cell, Bulk, Other), choose the assay type, and select the data format. Partek Flow accepts various data types including unaligned and aligned Next Generation Sequencing (NGS) reads, and microarray data. . Use the Next button to proceed with import.
There are three ways you can upload the data (Figure 2):
- From your Partek Flow server Directly from My computer (i.e. the computer you are currently using to access Partek Flow(click here for more information)
- From a URL
- From a GEO / ENA Bioproject (click here for more information)
| Numbered figure captions | ||||||
|---|---|---|---|---|---|---|
|
| |||||
|
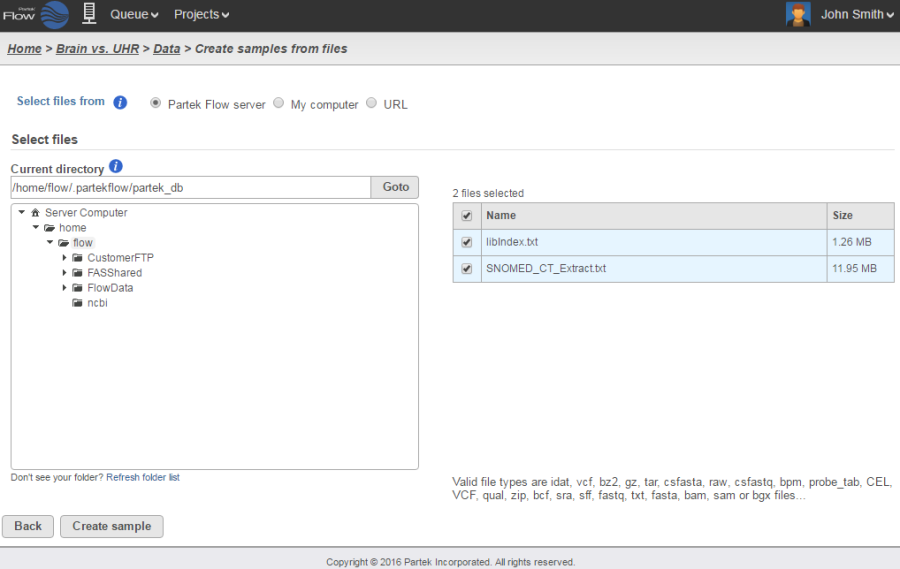
Because genomics datasets are generally large, it is ideal to have the data copied in a folder directly accessible to the Partek Flow server. Make sure that the directory has the appropriate permissions for Partek Flow to read and write files in that folder. You may wish to seek assistance from your system administrator in uploading your data directly.
Select the files you would like to create samples from. Once they've been created, assign the corresponding sample attributes for each sample. The most efficient way to assign sample attributes is by clicking Assign sample attributes from a file and uploading a tab delimited text file. The file should contain a table with the following:
...
Overview
Content Tools