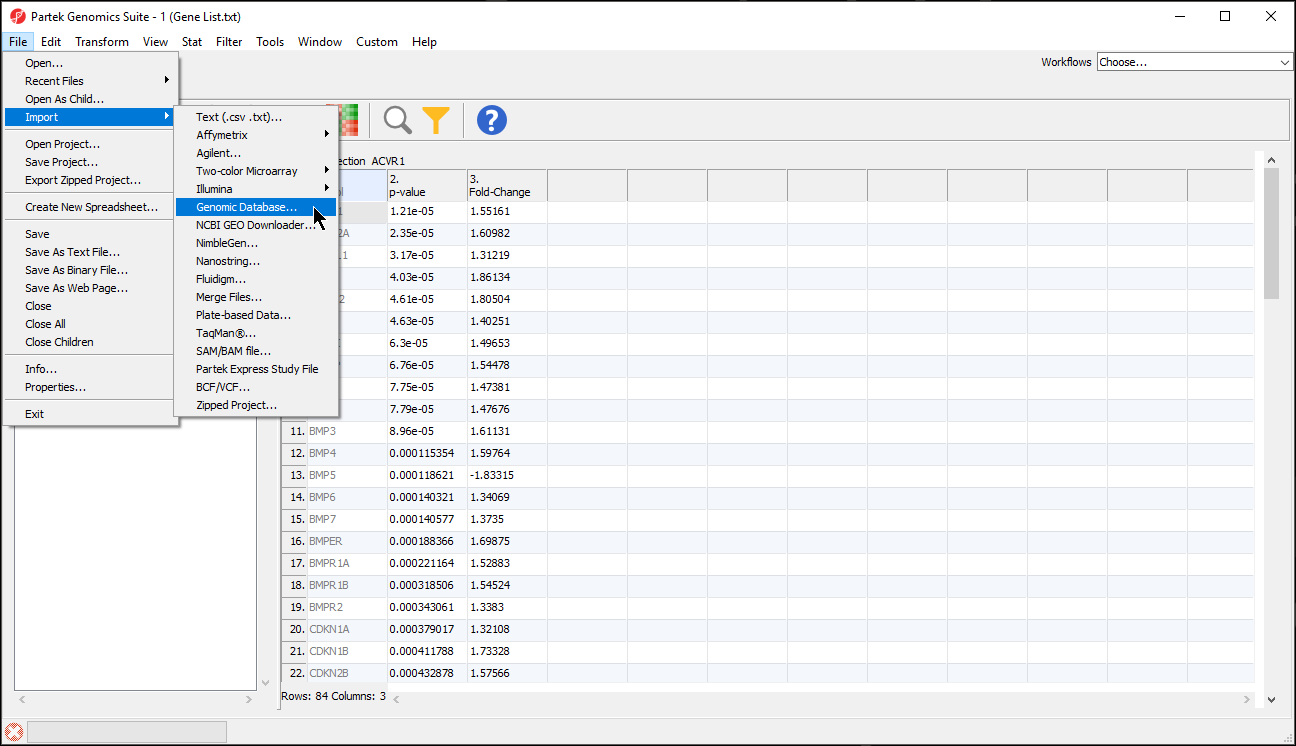
Page History
...
| Numbered figure captions | ||||
|---|---|---|---|---|
| ||||
|

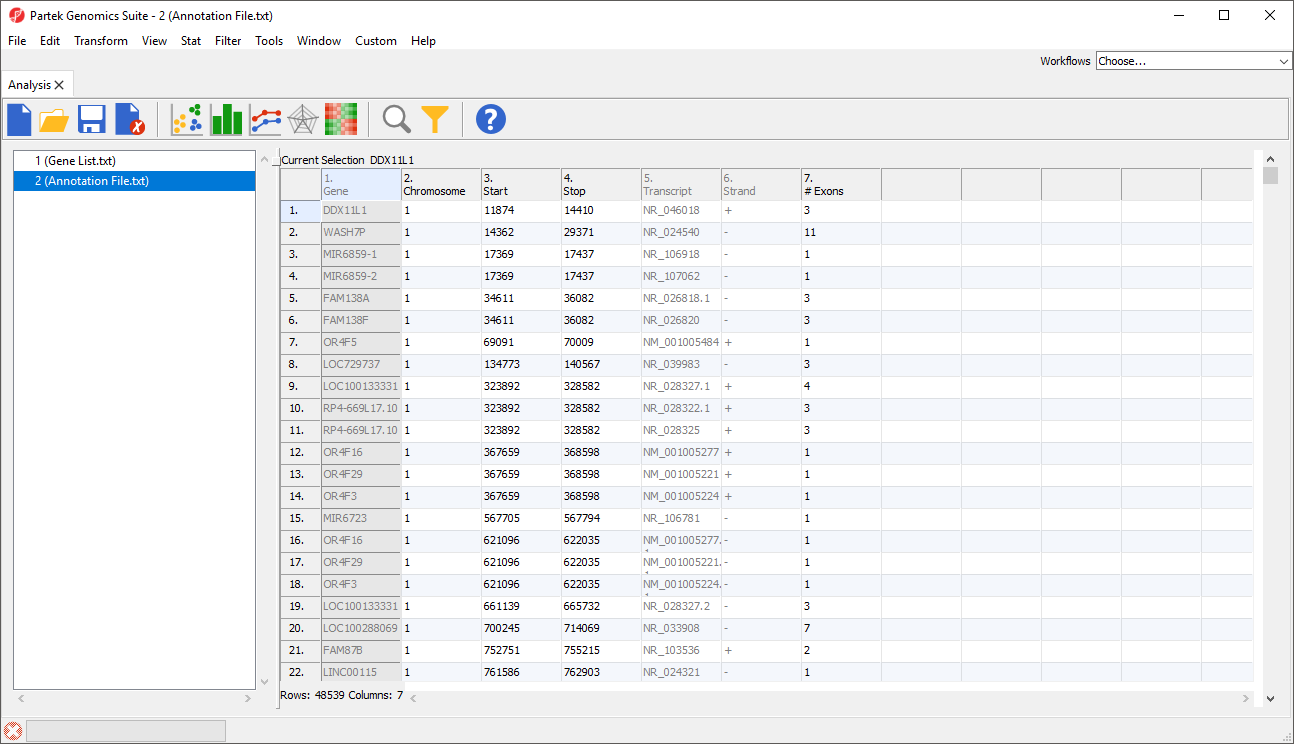
- Select the annotation file; we have selected hg19_refseq_14_01_03_v2.pannot from the C:/Microarry Libraries folder
- Delete or rearrange the columns as necessary; we have placed the column with identifiers that correspond to our gene list first
- Select File then Save As Text File... to save the annotation file; we have named it Annotation File (Figure 2)
| Numbered figure captions | ||||
|---|---|---|---|---|
| ||||
  |
- Select (
 ) to close the annotation file
...
- Select Browse under Annotation File
- Choose the annotation file; we have chosen Annotation File.txt (FIgure
If this is the first time you have used an annotation, the Configure Annotation dialog will launch. This is used to choose the columns with the chromosome number and position information for each feature. Our example annotation file has chromosome, start, and stop in separate columns.
...
- Select Close to return to the Configure Genomic Properties dialogSelect appropriate
- Select Set Column: to open the Choose column with gene symbols or microRNA names dialog (Figure 5)
| Numbered figure captions | ||||
|---|---|---|---|---|
| ||||
|
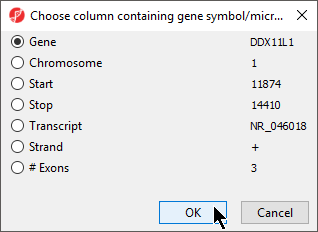
- Select the appropriate column; here the default choice of 1. Symbol is appropriate
- Select OK to return to the Configure Genomic Properties dialog
- Select the appropriate species and genome build options; we have selected Homo sapiens and hg19
- Select OK
- hg19 (Figure 6)
| Numbered figure captions | ||||
|---|---|---|---|---|
| ||||
|

- Select OK
- Select (
 ) to save the spreadsheet
The annotation file has been associated with the spreadsheet and additional tasks can now be performed on the data.
...
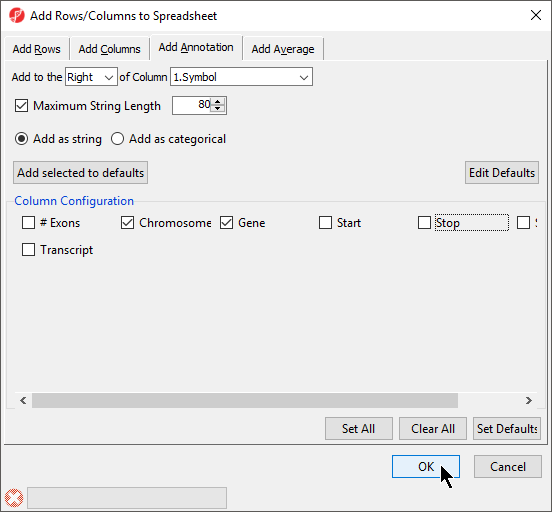
- Right click on a column header
- Select Insert Annotation
- Select columns to add from Column Configuration Configuration; we have selected Chromosome, Start, and Stop (Figure 57)
- Select OK
| Numbered figure captions | ||||
|---|---|---|---|---|
| ||||
|
Annotating with cytobands
...
A column with cytoband locations will be added to the spreadsheet. Adding a cytoband is possible if genomic coordinates are associated with the gene list spreadsheet during import or by association with an annotation file.
Annotating with known SNPs
- Select Annotate with Known SNPs... from Tools in the main toolbar when a suitable spreadsheet is open will add
A column of SNPs associated the listed genes and a column indicating the number of SNPs known to be associated with the genes will be added to the spreadsheet. If a SNP database has not been previously downloaded, it will need to be downloaded through the SNP database dialog (Figure 68).
| Numbered figure captions | ||||
|---|---|---|---|---|
| ||||
|

...
Overview
Content Tools