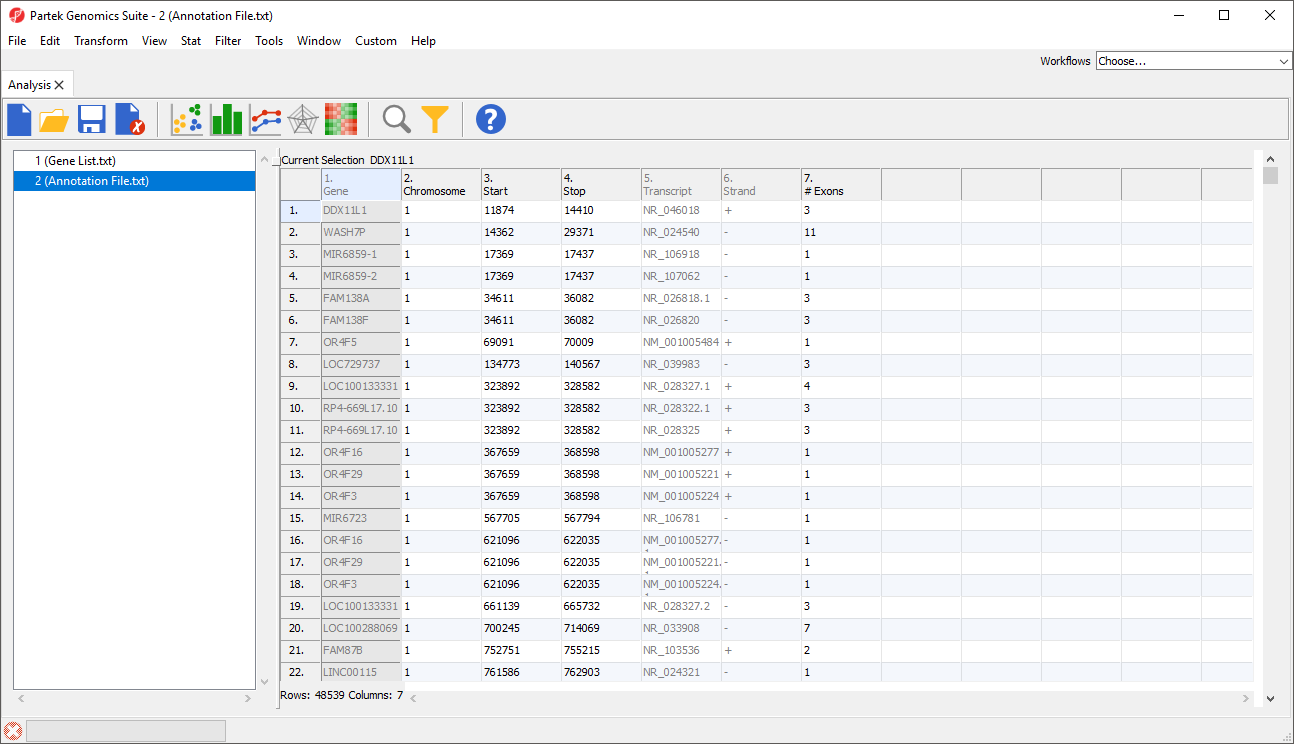
There are many useful visualizations, annotations, and biological interpretation tools that can operate on a gene list. In order for these features work with an imported list, an annotation file must be associated with the gene list. Additionally, many operations that work with a list of significant genes (like GO- or Pathway-Enrichment) require comparison against a background of “non-significant” genes. The quickest way to accomplish both is to use the background of “all genes” for that organism provided by an annotation source like RefSeq, Ensembl, etc. in .pannot (Partek® annotation), .gff, .gtf, .bed, tab- or comma-delimited format. If the file is not already in a tab-separated or comma delimited format, you may import, modify, and save the file in the proper file format.
|
 |
Now we can add the annotation file to our imported gene list.
This brings up the Configure Genomic Properties dialog (Figure 3).
|
If this is the first time you have used an annotation, the Configure Annotation dialog will launch. This is used to choose the columns with the chromosome number and position information for each feature. Our example annotation file has chromosome, start, and stop in separate columns.
|
|
|
The annotation file has been associated with the spreadsheet and additional tasks can now be performed on the data, e.g. since the annotation has genomic location, you can draw chromosome view on this data.
If an annotation file has been associated with a spreadsheet, annotations from the file can be added as columns in the spreadsheet when each identifier is on a row.
|
|