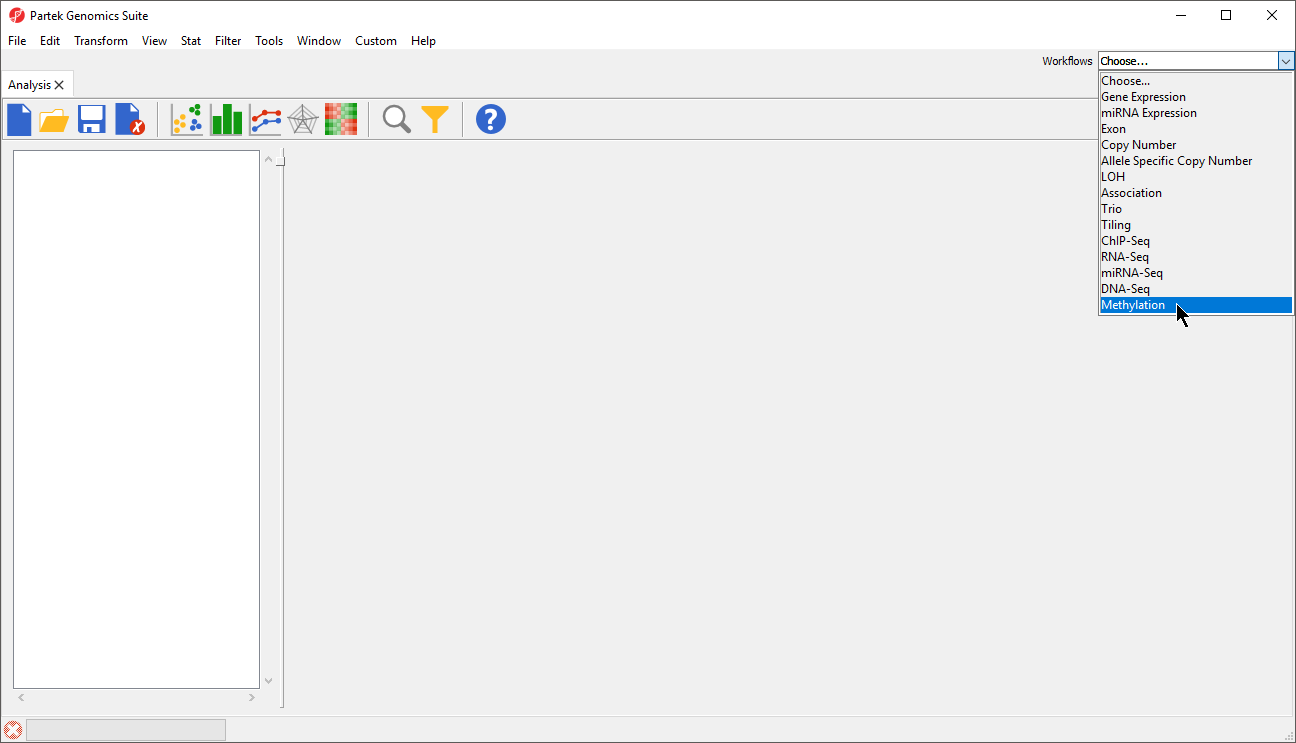
To follow this tutorial, download the 32 .idat files (note that two .idat files are generated for each array) and unzip them on your local computer using 7-zip, WinRAR, or a similar program. The .idat files can be downloaded in a zipped folder using this link - Differential Methylation Analysis data set.
|
|
|
|
All .idat files in the folder will be selected by default (Figure 5).
|
|
The following dialog (Figure 7) deals with the manifest file, i.e. probe annotation file. If a manifest file is not present locally, it will be downloaded in the Microarray libraries directory automatically. The download will take place in the background, with no particular message on the screen and it may take a few minutes, depending on the internet connection. In the future, you may want to reanalyze a data set using the same version of the manifest file used during the initial analysis, rather than downloading an up-to-date version. To facilitate this, the Manual specify option in the Manifest File section allows you to specify a specific version. For this tutorial, we will leave this on the default settings.
|
By default the output file destination is set to the file containing your .idat files and the name matches the file folder name. The name and location of the output file can be changed using the Output File panel.
In the Algorithm tab of the Advanced Import Options dialog (Figure 8), there are two filtering options and five normalization options available. The filters allow you to exclude probes from the X and Y chromosomes or based on detection p-value. In this tutorial, we have male and female samples, so we will apply the X and Y chromosome Filter. We will also filter probes based on detection p-value to exclude low-quality probes.
Analysis of differentially methylated loci in humans and mice often excludes probes on the X and Y chromosomes because of the difficulties caused by the inactivation of one X chromosome in female samples.
We recommend using the default option for normalization; however, advanced users can select their preferred normalization method. Select the (![]() ) next to each normalization option for details. If you want to import probe intensity, raw probe intensity, probe signals, raw probe signals, or anti-log probe intensity values, they can be added to the data import using the Outputs tab of the Advanced Import Options dialog. Probe intensities and raw probe intensities can be used for advanced troubleshooting purposes and antilog probe intensities can be used for copy number detection. The Outputs tab of the Advanced Import Options dialog also has an option to create NCBI GEO submission spreadsheets from your imported data. For this tutorial, we do not need to import any of these values or create GEO submission spreadsheets.
) next to each normalization option for details. If you want to import probe intensity, raw probe intensity, probe signals, raw probe signals, or anti-log probe intensity values, they can be added to the data import using the Outputs tab of the Advanced Import Options dialog. Probe intensities and raw probe intensities can be used for advanced troubleshooting purposes and antilog probe intensities can be used for copy number detection. The Outputs tab of the Advanced Import Options dialog also has an option to create NCBI GEO submission spreadsheets from your imported data. For this tutorial, we do not need to import any of these values or create GEO submission spreadsheets.
|
The imported and normalized data will appear as a spreadsheet 1 (Methylation Tutorial) (Figure 9)
|
|