Page History
...
Now that the data has been imported, we need to make a few changes to the data annotation before analysis.
Modifying
...
sample attributes
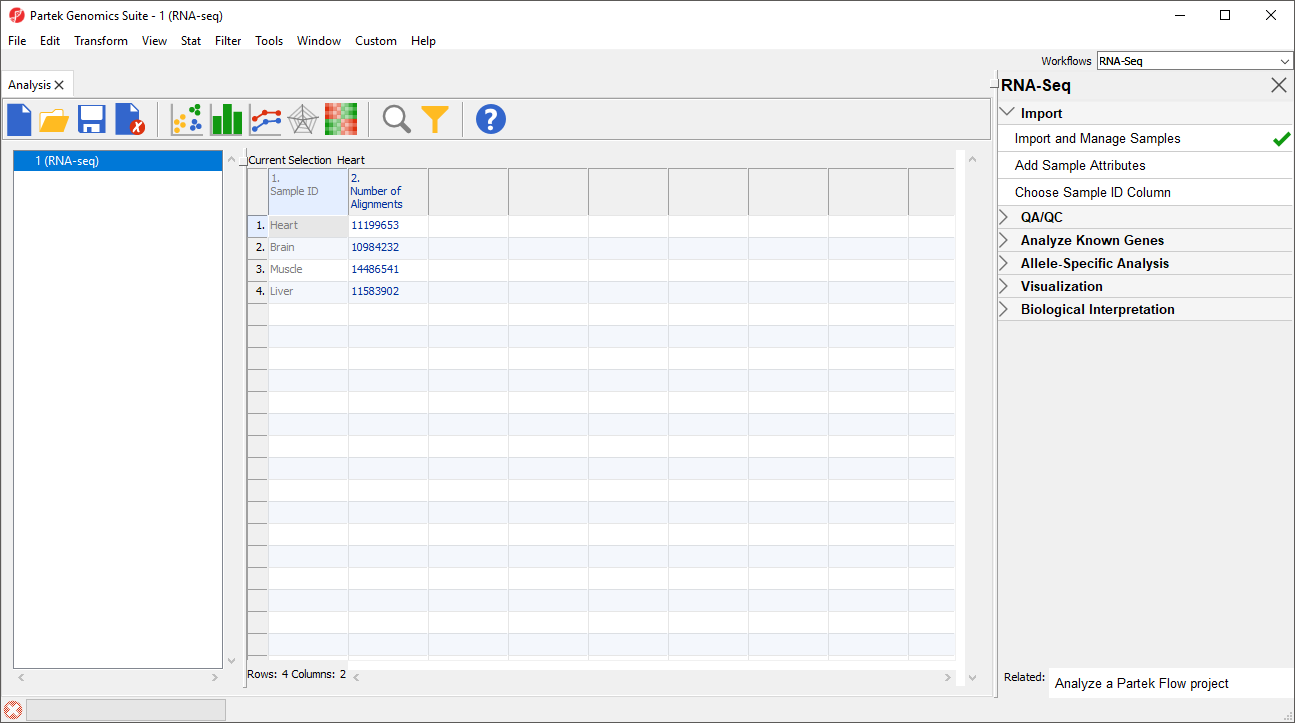
Notice that the Sample ID names in column 1 are gray (Figure 1). This indicates that Sample ID is a text factor. Text factors cannot be used as a variable in downstream analysis so we need to change Sample ID to a categorical factor.
...
| Numbered figure captions | ||||
|---|---|---|---|---|
| ||||
|

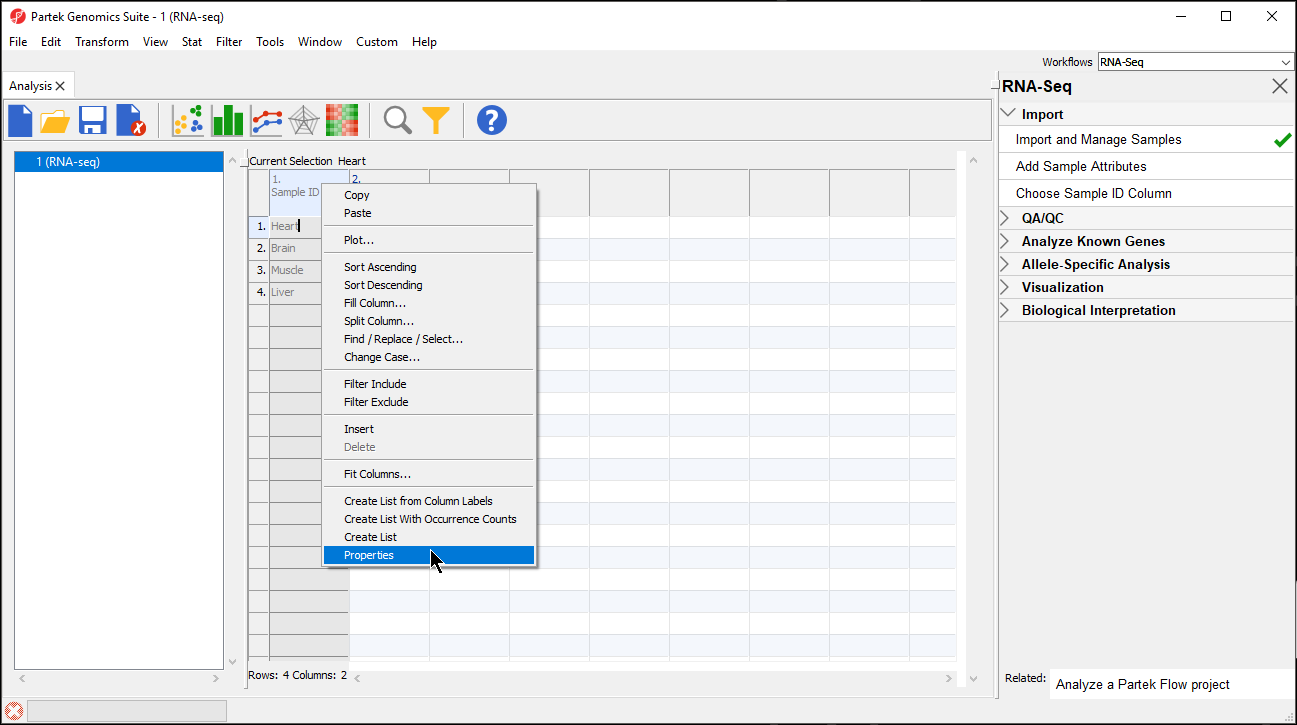
- Right-click on the column header to invoke the contextual menu and then select pop-up menu
- Select Properties (Figure 2)
| Numbered figure captions | ||||
|---|---|---|---|---|
| ||||
|
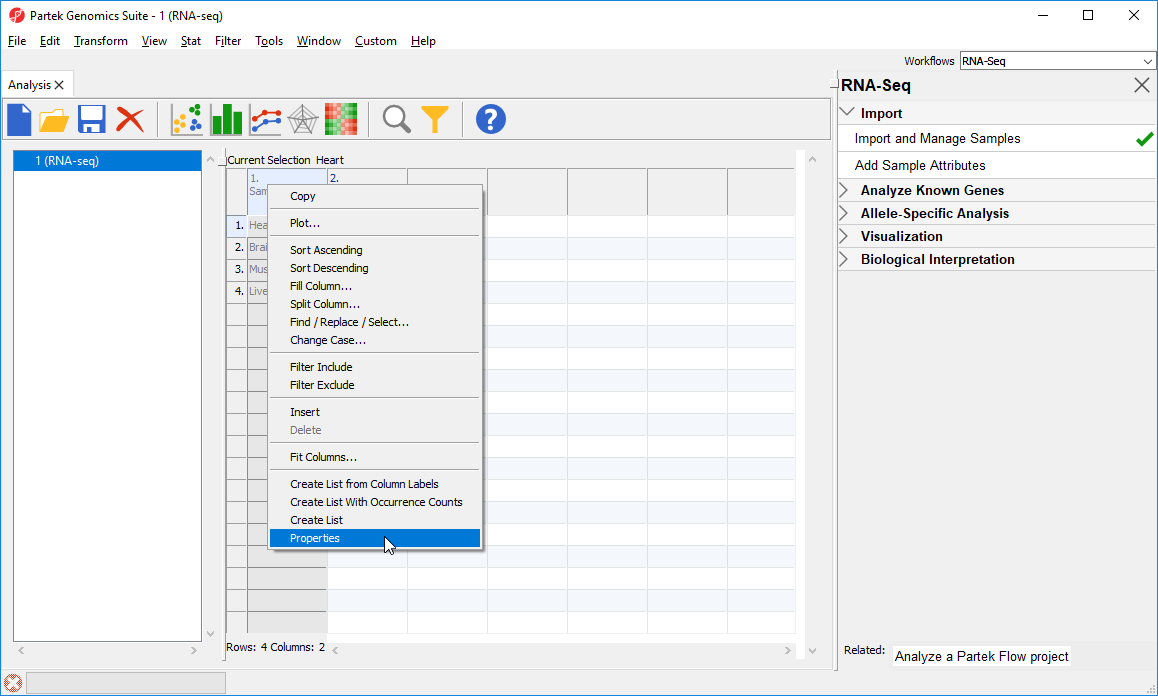
- Configure the Properties of Column 1 in Spreadsheet 1 dialog as shown (Figure 3) with Type set to categorical and Attribute set to factor
| Numbered figure captions | ||||
|---|---|---|---|---|
| ||||
|


- Select OK
The samples names in column 1 are now black, indicating that they have been changed to a categorical variable. Next, we will add attributes for grouping the data.
Adding
...
sample attributes
- From the RNA-seq workflow panel, select Add sample attributeSample Attributes to bring up the Add Sample Attributes dialog (Figure 4)
| Numbered figure captions | ||||
|---|---|---|---|---|
| ||||
|
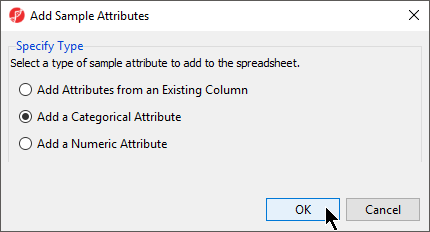
- Select the Select Add a categorical attribute optionCategorical Attribute
- Select OK to bring up the Create categorical attribute dialog
Creating a categorical sample attribute allows us to group samples. This is useful for designating samples as replicates, as members of an experimental group, or as sharing a phenotype of interest. In this tutorial, we have four different samples from different tissues and different donors, but to illustrate the available statistical analysis options later on, we need to group divide the samples into two groups: muscle (Heart and Muscle) and not muscle (Brain and Liver).
- Set Attribute name: as Tissueas Tissue
- Rename Group 1 to muscle and Group 2 to not muscle
- Select and drag the samples from the Unassigned panel to the correct group panel (Figure 5)
...
The attribute will now appear as a new column in the RNA-seq spreadsheet with the heading Tissue and the groups muscle and not muscle.
Choosing Sample ID
...
column
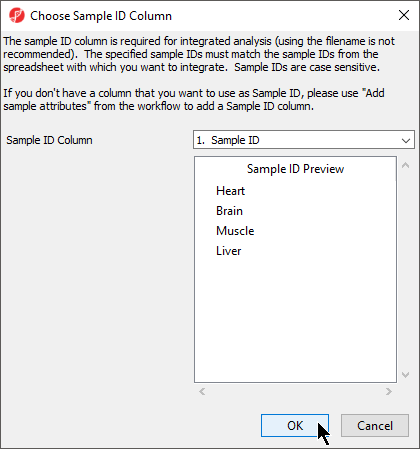
The next available step in the Import panel of the RNA-seq workflow is Choose Sample ID Column. Verifying the correct column is designated the Sample ID becomes particularly important when data from multiple experiments is being combined.
- Select Choose Sample ID Column from the Import panel of the RNA-seq Seq workflow
- Select OK (Figure 6)
| Numbered figure captions | ||||
|---|---|---|---|---|
| ||||
|
| Page Turner | ||
|---|---|---|
|
| Additional assistance |
|---|
...
Overview
Content Tools