Page History
Partek ® Flow ® supports multiple user accounts, allowing you to keep your Partek Flow server secure and organized. This also facilitates data sharing and collaboration on projects. Administrative users have access to all parts of the software including server configuration, whereas non-administrative users only have access to the features necessary for data analysis. The first Partek Flow user account is created during installation, which is always an administrative user account.
...
To access the User Management page, click the avatar in the top right corner, choose Settings and click User management on the left (Figure 1). This page can be accessed by administrative Partek Flow users only.
| Numbered figure captions | ||||
|---|---|---|---|---|
| ||||
|
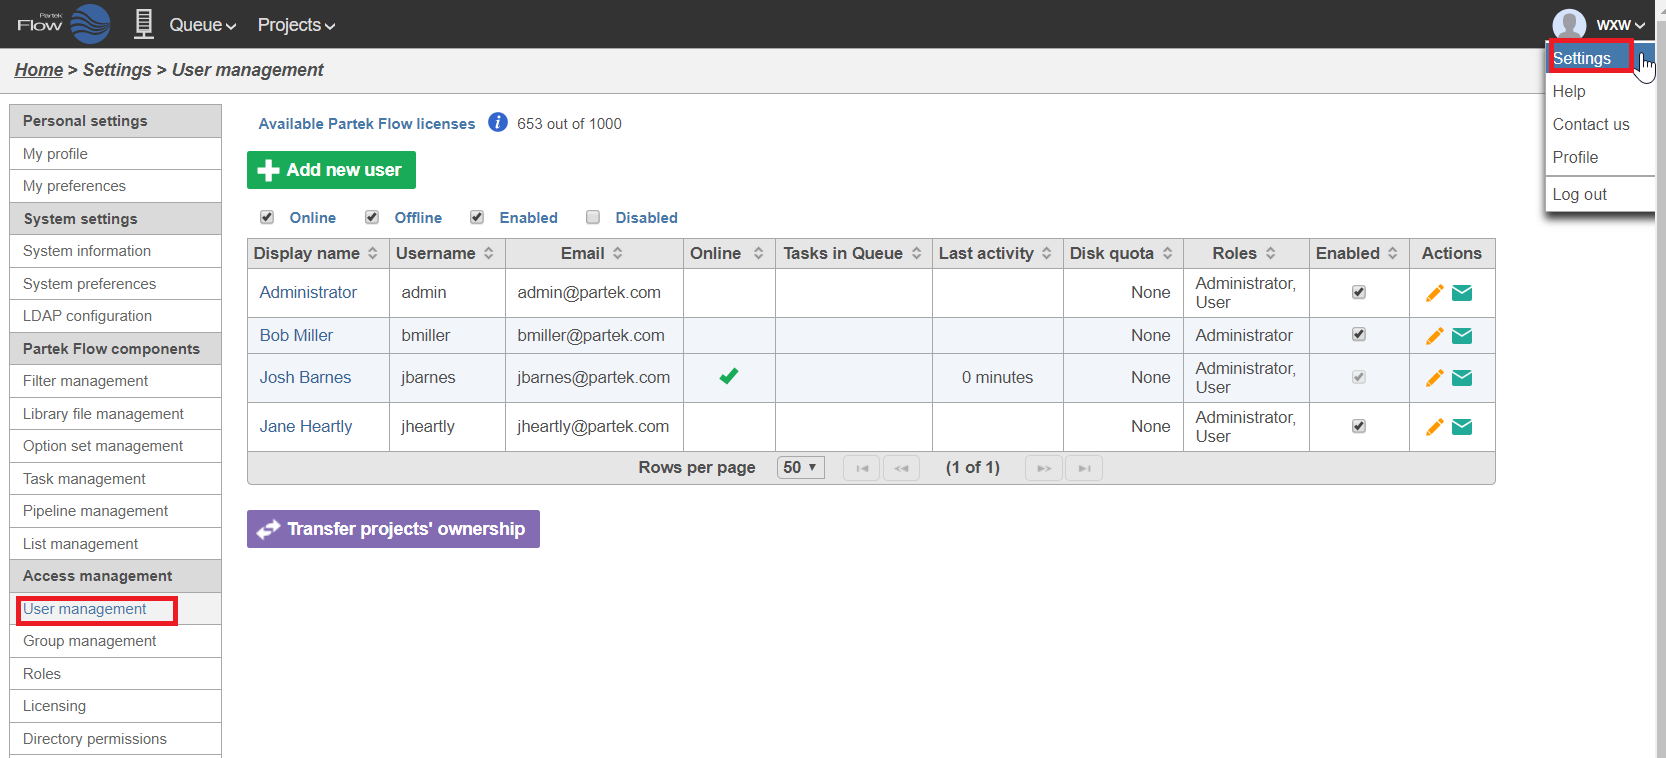
The number of available Partek Flow user licenses is displayed at the top of the User management page. This shows the number of user accounts that can be enabled. Administrative user accounts will not consume licenses, unless they become a member of any project, in which case they will consume a Partek Flow user licence. Please contact your account manager or email licensing@partek.com if you wish to increase the number of user licenses on your Partek Flow instance. If all available user licenses have been consumed, you will have to disable a user account before adding a new user. Disabled user accounts are easily re-enabled.
...
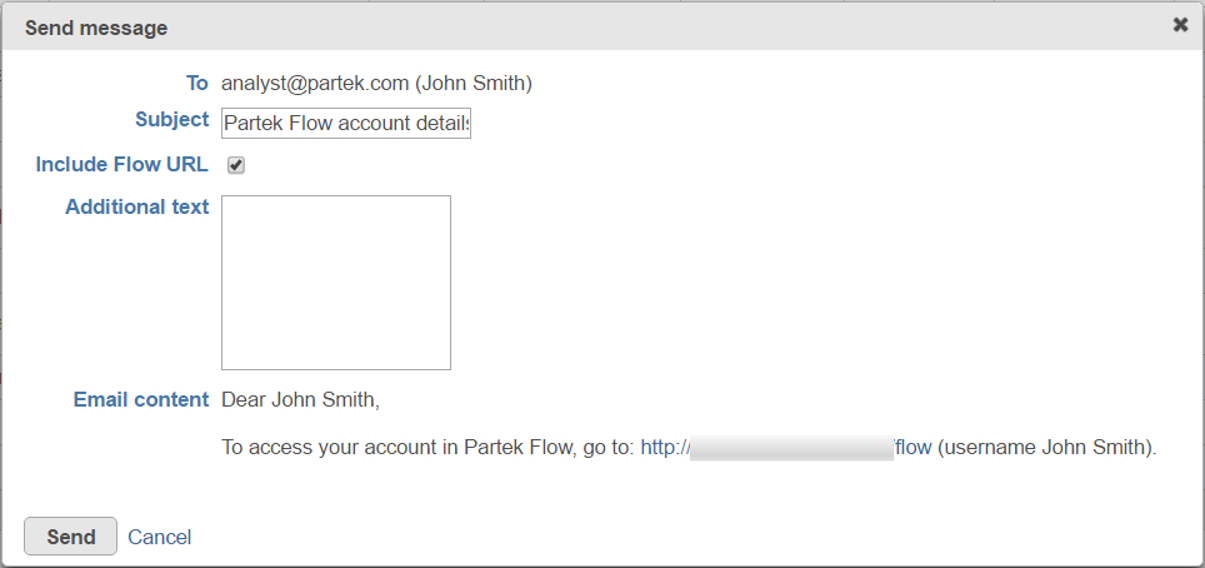
By clicking on the Send message button ( ), the administrative user can send an e-mail notification about account creation. The dialog depends on the user database; an e-mail to a user who is not within an LDAP database (vide infra) is shown in Figure 2, while an e-mail to a user who is within an LDAP can be seen in Figure 3.
| Numbered figure captions | ||||
|---|---|---|---|---|
| ||||
|
| Numbered figure captions | ||||
|---|---|---|---|---|
| ||||
|

If multiple Partek Flow users are logged into an instance at the same time, administrative users have the ability to log them out by clicking the Log out user icon (![]() ) (Figure 1). If a user is logged out by an administrator and the user has tasks running or in the queue, those tasks will continue to run.
) (Figure 1). If a user is logged out by an administrator and the user has tasks running or in the queue, those tasks will continue to run.
...
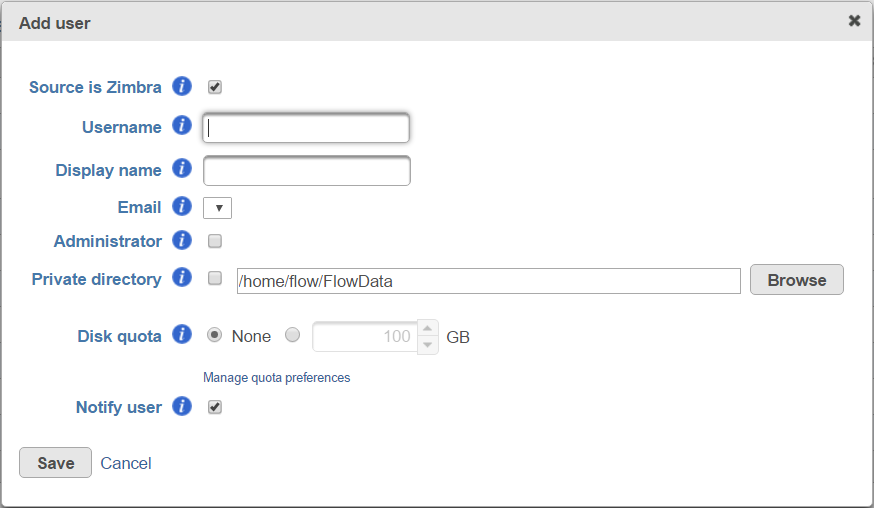
The new user account will be active immediately. The new user can log into the Partek Flow instance using the same username and password as their email account. Please note, the new user will not be able to manage their username and password settings from within Partek Flow, as this is determined by the LDAP server.
...
...
| Numbered figure captions | ||||
|---|---|---|---|---|
| ||||
|
| Anchor | ||||
|---|---|---|---|---|
|
...
The screen will return to the User management page and there will be a message at the top of the screen (Figure 5). The new user needs to click on the link sent via email and follow the on-screen instructions for creating a password.
...
| Numbered figure captions | ||||
|---|---|---|---|---|
| ||||
|

Editing a Partek Flow user account
To edit user account details, click on the Edit icon () next to the user account in the Actions column (Figure 1). This will open the same dialog as in Figure 2, with the user account details filled out. An administrative user can make the necessary changes and click Save. Users can also edit some of their own details Personal settings.
Disabling a Partek Flow user account
To disable a user account, deselect the checkbox in the Enabled column in the table on the User management page (Figure 6). The user account will then disappear from the table. If a user account if disabled while the user is logged in, they will immediately be logged out.
| Numbered figure captions | ||||
|---|---|---|---|---|
| ||||
|

|

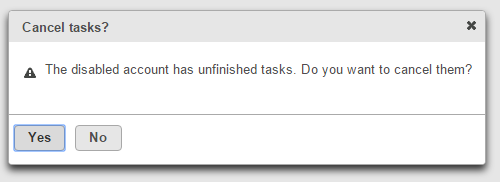
If a user account is disabled and they have tasks running or in the queue, you will be asked if you want to cancel them (Figure 7).
...
| Numbered figure captions | ||||
|---|---|---|---|---|
| ||||
|
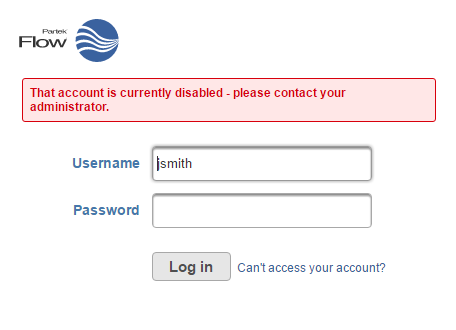
If a user tries to log into the Partek Flow instance and their account has been disabled, they will see a warning message (Figure 8).
...
...
| Numbered figure captions | ||||
|---|---|---|---|---|
| ||||
|
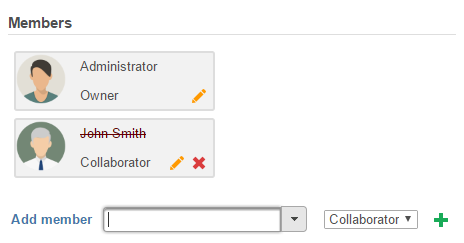
Users that have had their account disabled will no longer appear as a member of a project on the Home page. Under the Project settings tab of a project, their username and avatar will still be shown, but with a strikethrough (Figure 9).
...
| Numbered figure captions | ||||
|---|---|---|---|---|
| ||||
|
To display disabled user accounts, select the Disabled check box above the table (Figure 10). Disabled accounts can be easily re-enabled by selecting the check box in the Enabled column (Figure 8).
...
| Numbered figure captions | ||||
|---|---|---|---|---|
| ||||
|

Transfer projects' ownership
When a user is no longer a user on this Partek Flow instance, for instance, the user left the insititue, all the projects he created can be transfered to another user by clicking Transfer Projects' ownership (Figure 9).
| Numbered figure captions | ||||
|---|---|---|---|---|
| ||||
|
Specify the old owner user name and new owner name, click Transfer projects button.
| Additional assistance |
|---|
| Rate Macro | ||
|---|---|---|
|
...
Overview
Content Tools