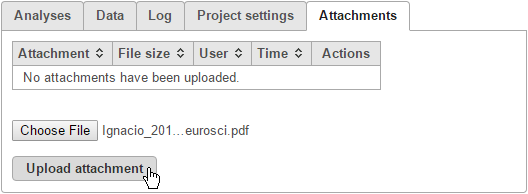
The Attachments tab allows the project owner to add external (i.e. non-Partek® Flow®) files to a project (for instance, spreadsheets, word documents, manuscripts). To attach a file, go to the Attachments tab (Figure 1). Choose File button invokes the file browser showing the directory structure of the local computer. Select the file that you want to attach and then click on the Upload attachment button. For security reasons, Partek Flow will not allow you to add an executable file.
| Numbered figure captions |
|---|
| SubtitleText | Adding an attachment to a project |
|---|
| AnchorName | Adding Attachment |
|---|
|
|
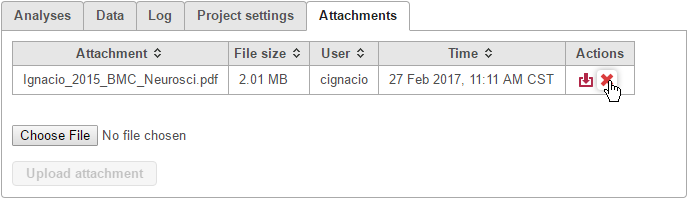
All added files will be listed in the table under the Attachments tab (Figure 2). The tab will also display file sizes, the user name of the person who uploaded the file and the time it was uploaded. Note that uploaded files will count towards the total size of the project, and thus, if available, to the disk quota of the project owner.
To remove a file, click the  icon. To download the attachment, click the
  icon.
icon.
| Numbered figure captions |
|---|
| SubtitleText | Attached files listed under the Attachments button (the image is just an illustration). To remove a file, use the red cross button |
|---|
| AnchorName | Attached File |
|---|
|
|
| Page Turner |
|---|
| button-links | true |
|---|
| label-next | Project Management |
|---|
| label-previous | The Project Settings Tab |
|---|
|